Wednesday, December 6, 2023

Second Grade: Crab

Second Grade: Crab


    For the second project of the year, all of the classes will be making a glow in the dark sea creature! We will be using glow in the dark paint and neon oil pastels to make our sea creatures come to life. At the end of the year art gallery, we will display all of the glow in the dark sea creatures in our very own Glow Gallery!

(Photo courtesy of Cassie Stephens' blog)

Each grade will do a different sea creature. Second grade will be making crabs.

Supplies: 

  • Rectangular mixed media paper
  • Neon/florescent oil pastels
  • Black marker
  • Pencil
  • Florescent tempura cakes
  • Paint brushes
  • Water bowls with sponge
  • Spray bottles with neon paint 


    Please use the document camera in the classroom to show the step by step instructions. One art volunteer can sit at the desk at the front of the room to demonstrate the steps and guide the students through the project. Here are the instructions for the crab & example pictures. These will also be printed out in the classroom for you to follow. 

  Try to save a few minutes for at the end of class to turn the lights off in the classroom and turn on the black lights that are in the art closet (or they may already be plugged in around the room). The kids will love getting to see their art projects glow! The squeals of delight will be worth it! ;) 

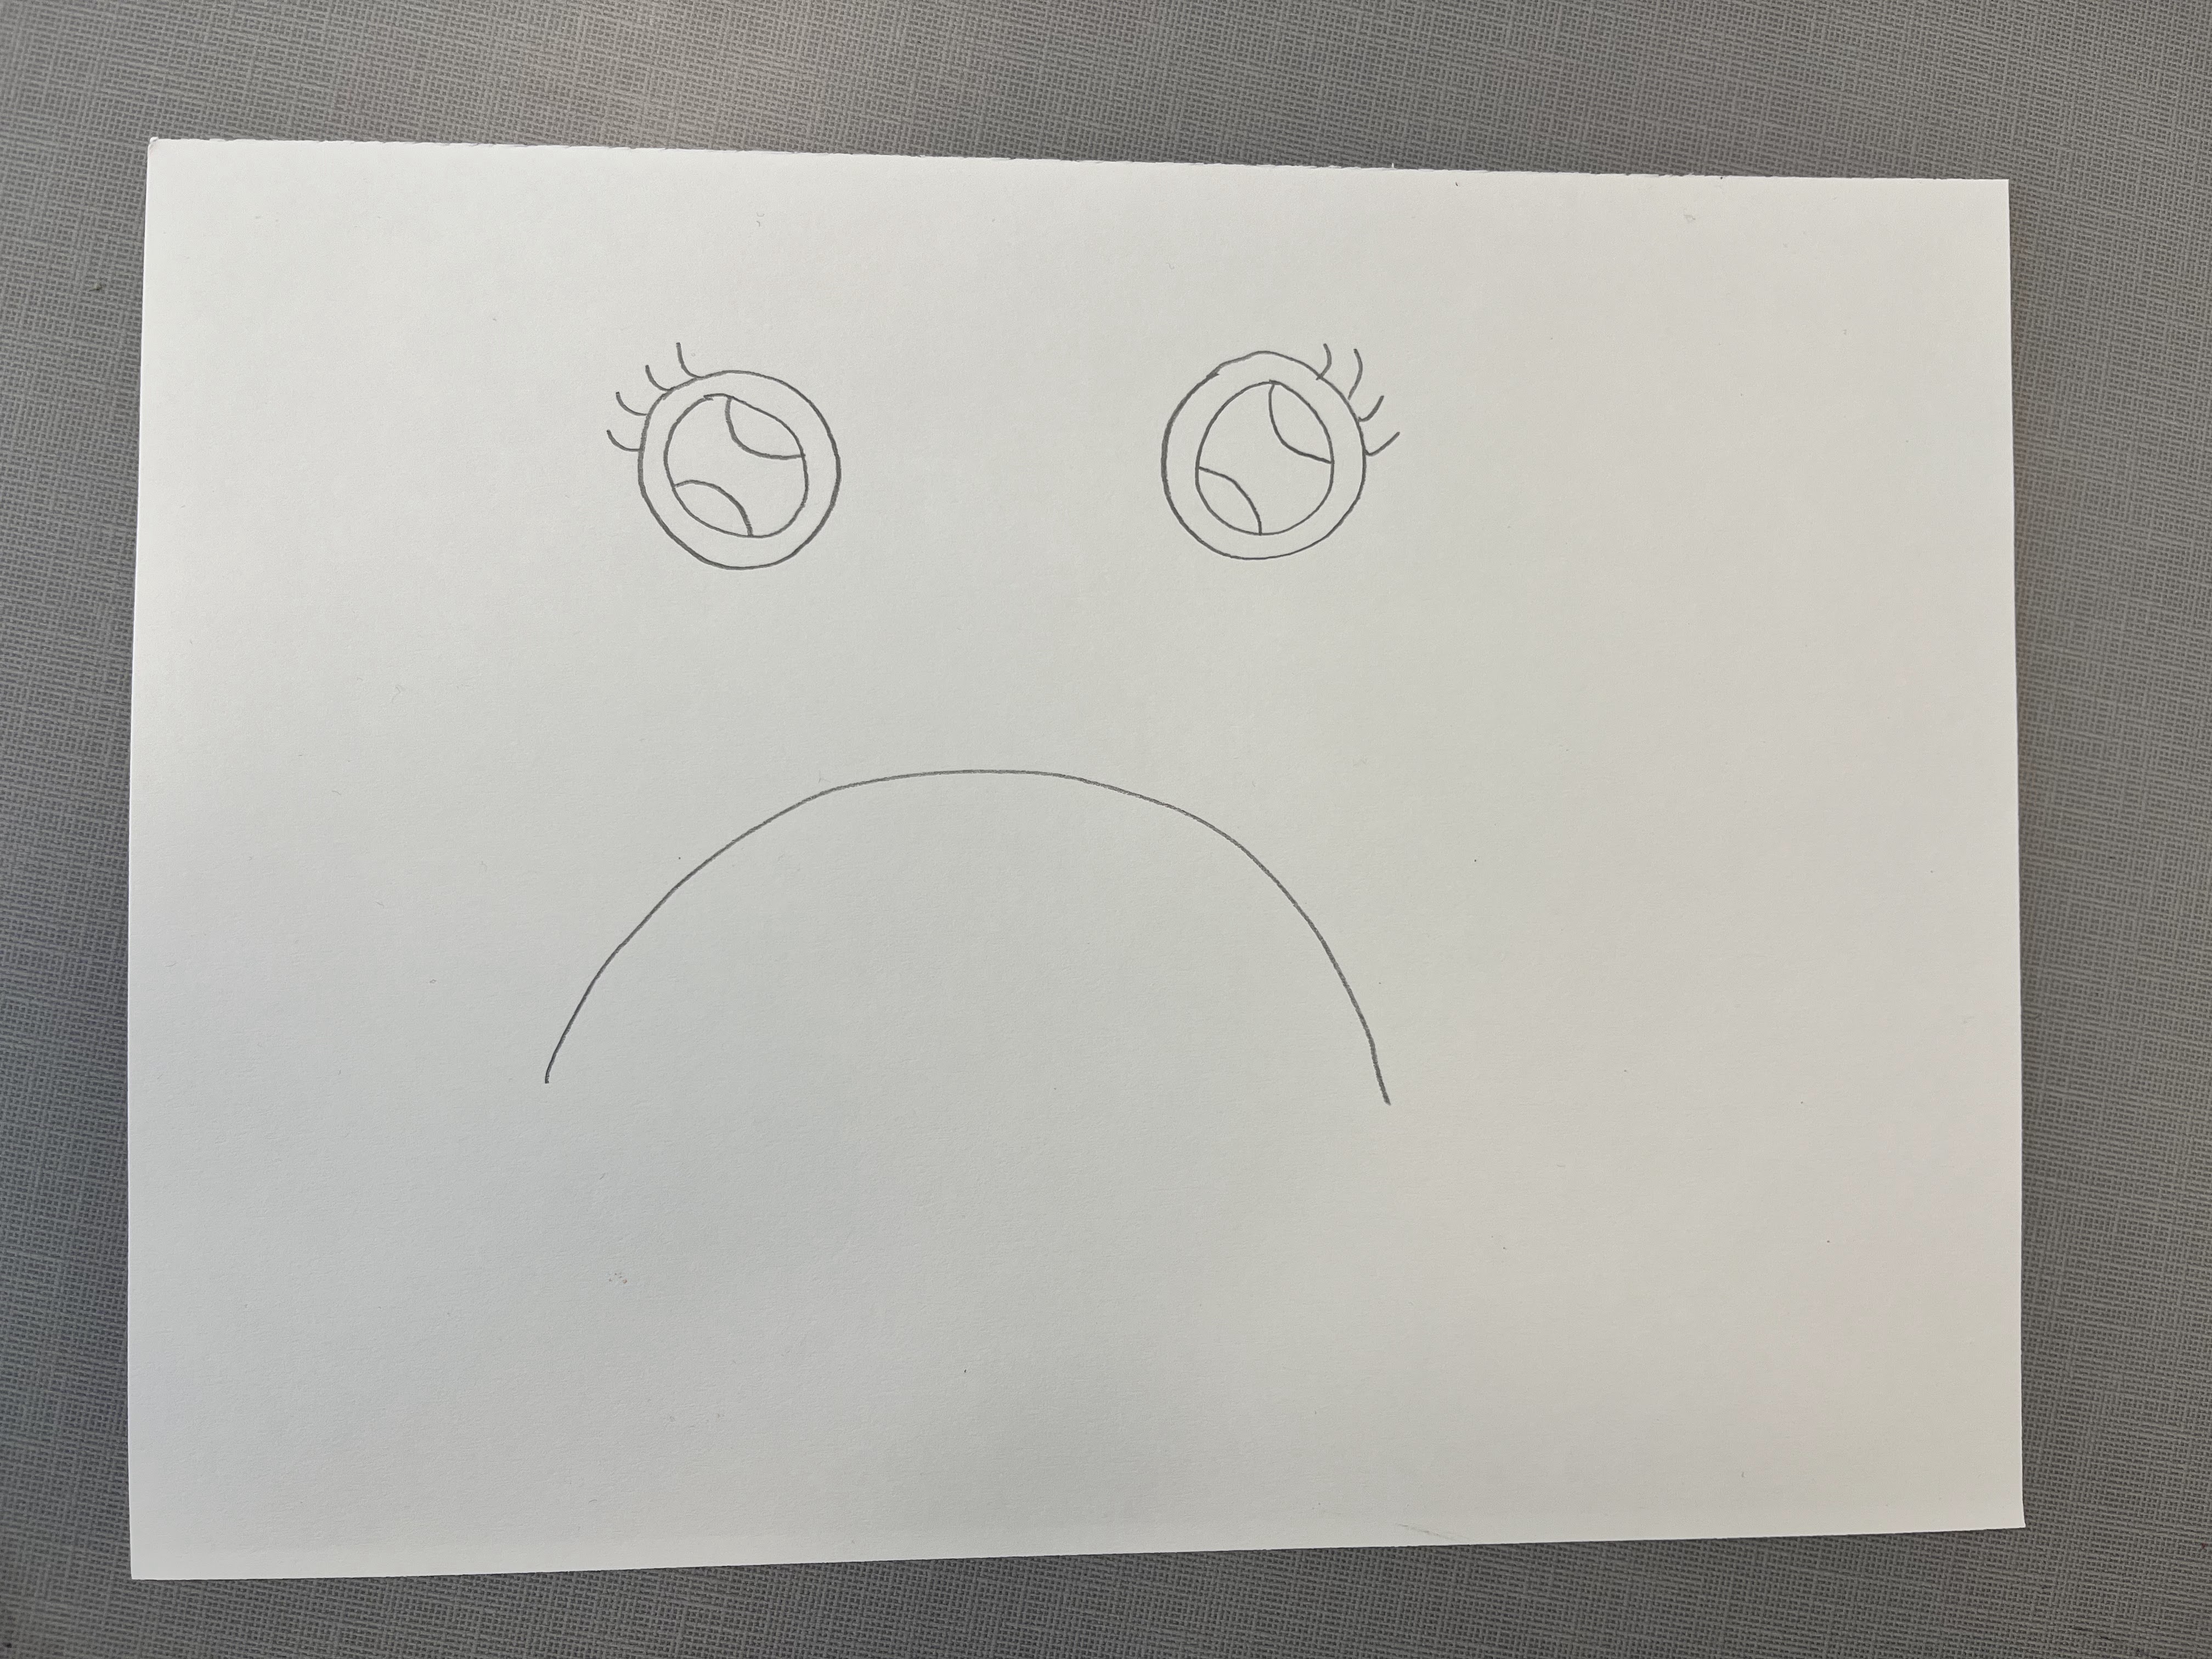
1. First write your name and your teachers name on the back of the paper with a pencil. Turn the paper over and grab a marker (these instructions are in pencil, but we realized we just need to have the students do the project in marker. We ran out of time having them draw in pencil and then trace it with marker). Flip it over and draw two circles towards the top of the page. These will be the crab’s eyes. 


2. Next draw a semi-circle at the top right of each eye and the bottom left of each eye. These are the highlights of the eyes. 


3. Next draw a bigger circle around the eyes. 


4. If you would like to add eyelashes, add them now! 
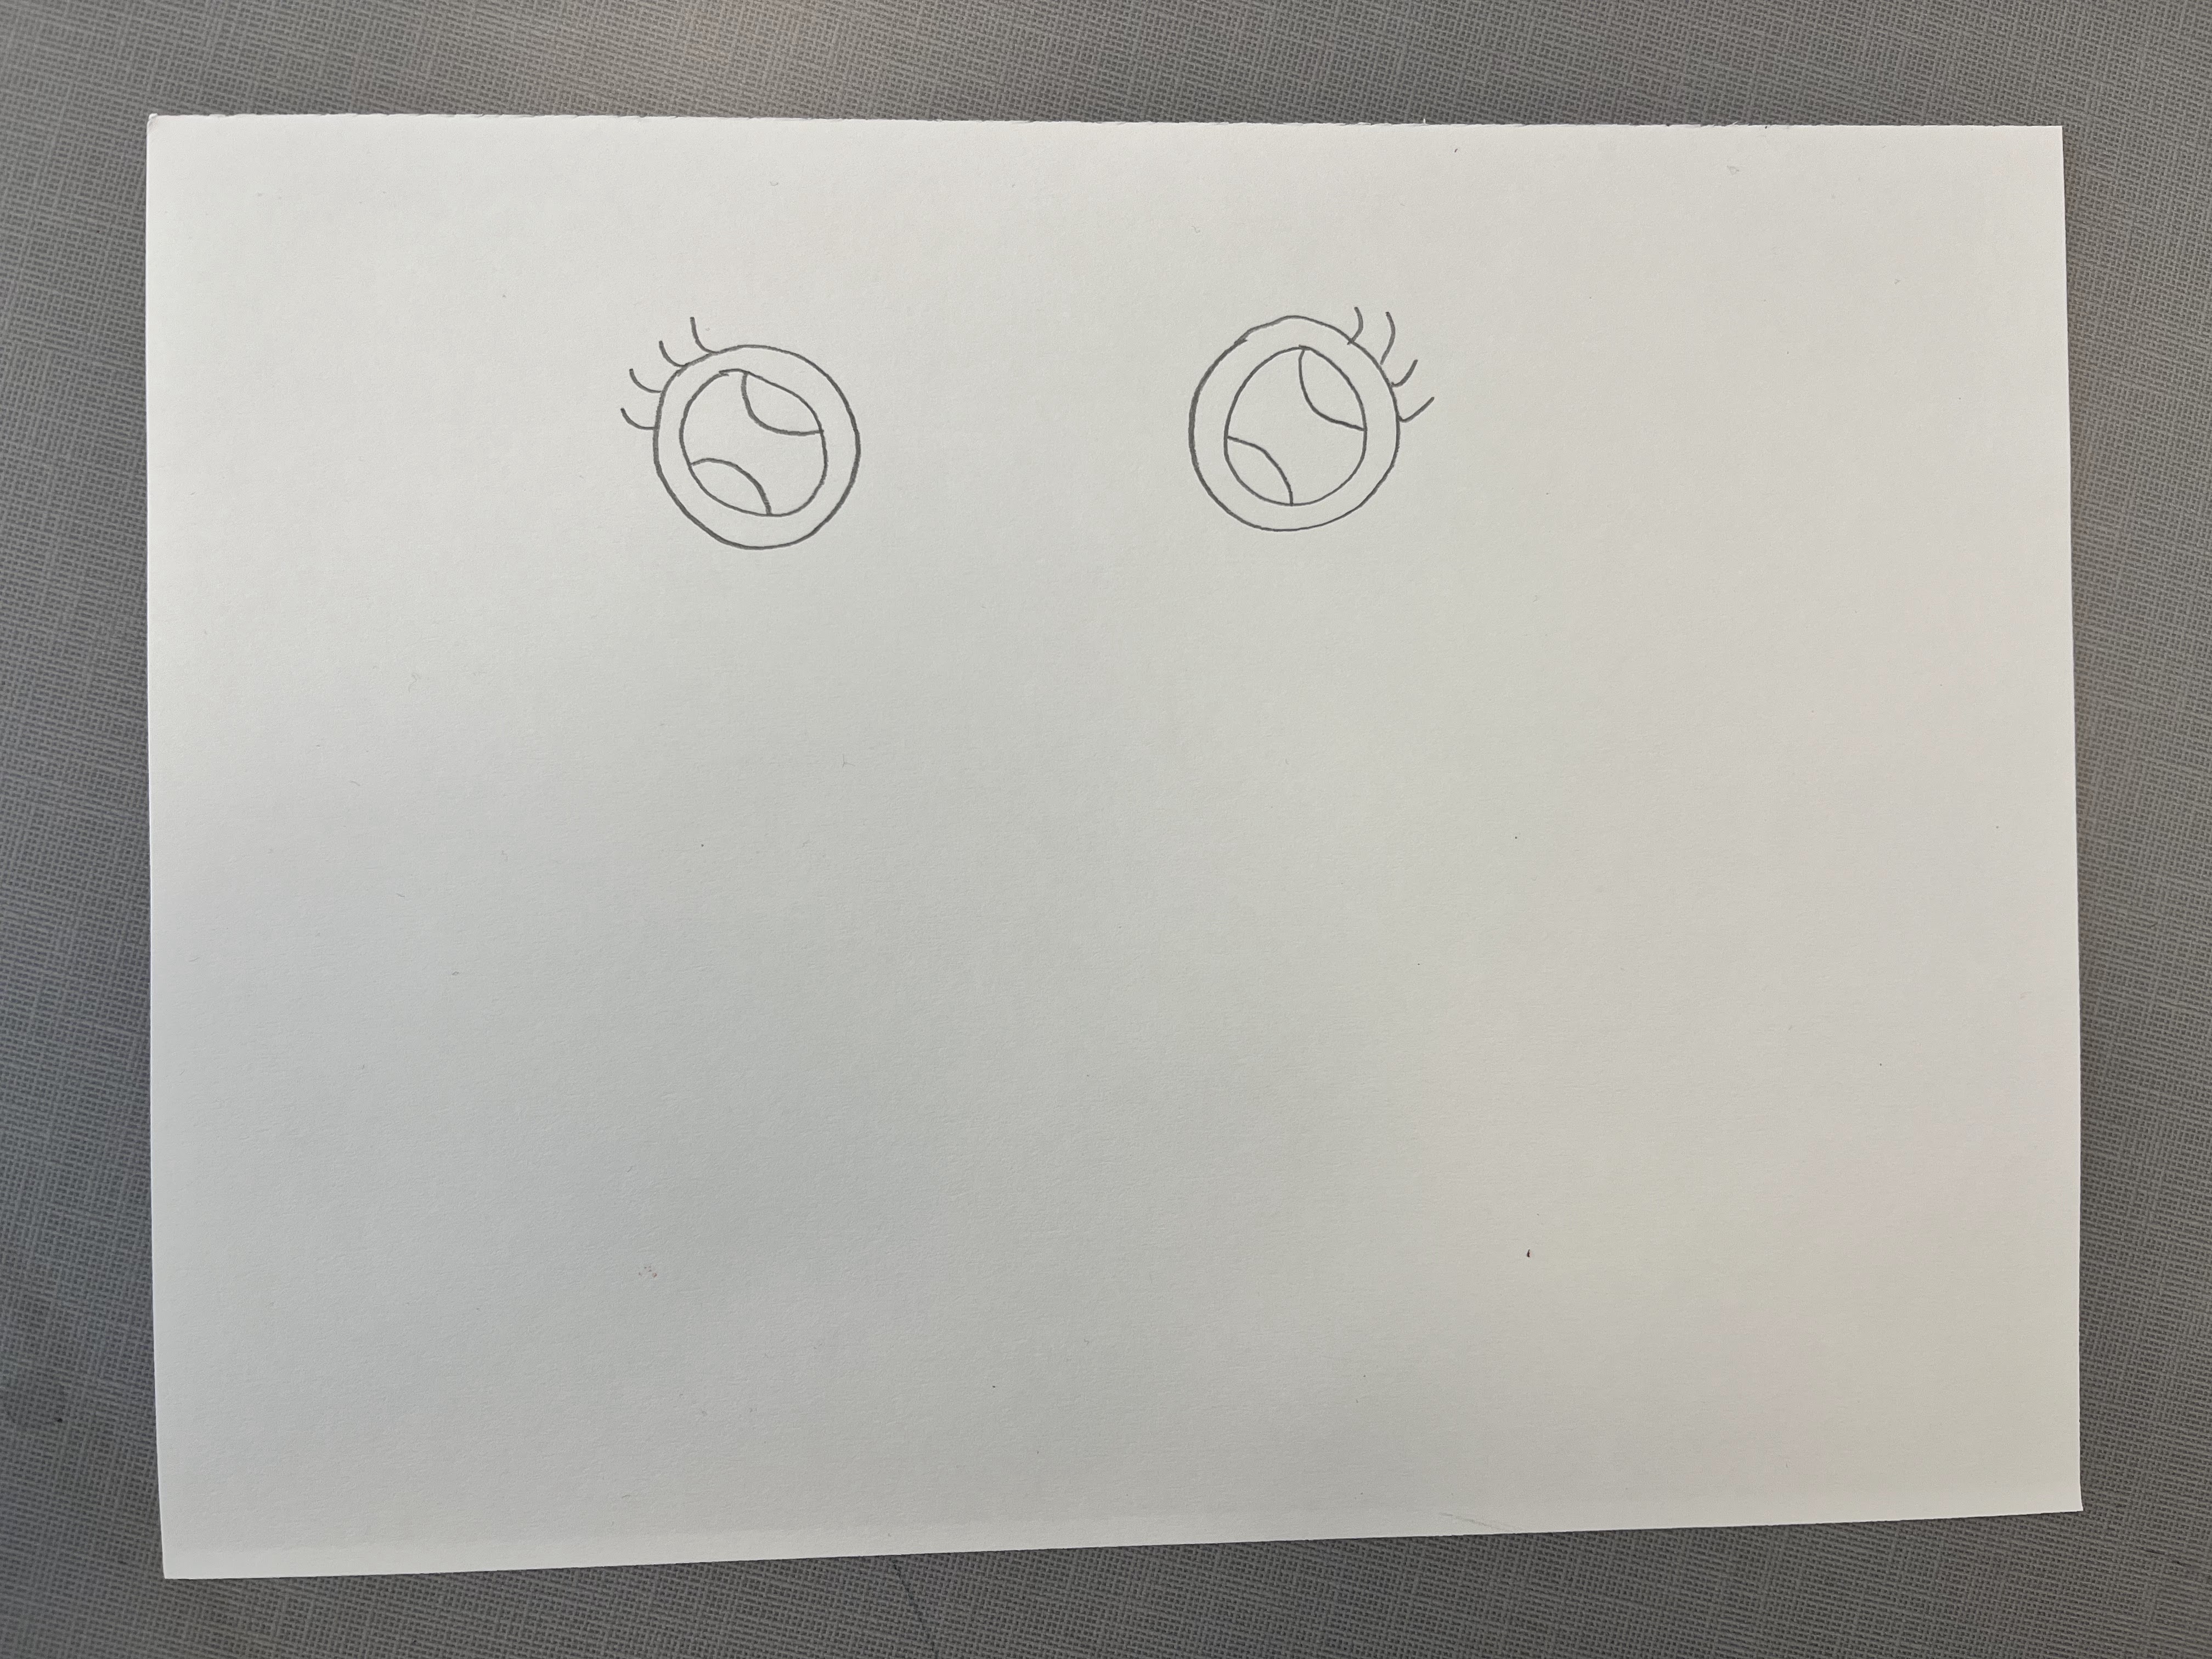

5. Next draw a big upside down semi circle… will look like a big sad face :(


6. Maybe the crab is sad because his eyes aren’t attached to his body. Attach the eyes with two lines.. they can be slightly curved. 


7. Now finish the crab’s body by drawing a slightly curved line from one side to the other. And draw a smiley mouth or whatever kind of mouth you would like! 


8. Now draw one U shape on the right side of your paper. This will be one of the crab's claws. 


9. Now draw a V in the middle of the U to finish the claw. 


10. Connect the claw to the body of the crab just like we did with the eyes. Try to draw it a little bit closer to the eyes that what we did here.. it will give you more room to add the crab's legs in a few minutes. 


11. Now repeat the process on the left side of the page for the other claw. Draw a U shape to start and then add a V shape. 


12. Now we are going to start adding legs to our crab! Crabs have 6 legs, so we are going to draw three on each side. Think about how you are going to space the legs out on the crab. The legs can come out of the bottom of the body, too. Draw a wide upside down V shape and then draw another line of the same shape to create one leg. 


13. Repeat the process and draw 3 legs on the other side of your crab. 


14. Add some circles or whatever other design you would like to add to your crab. We will color these in with different colors in a few minutes. 


15. Make sure to color in the eyes! Leave the semi-circle highlights to give your eyes some light! 
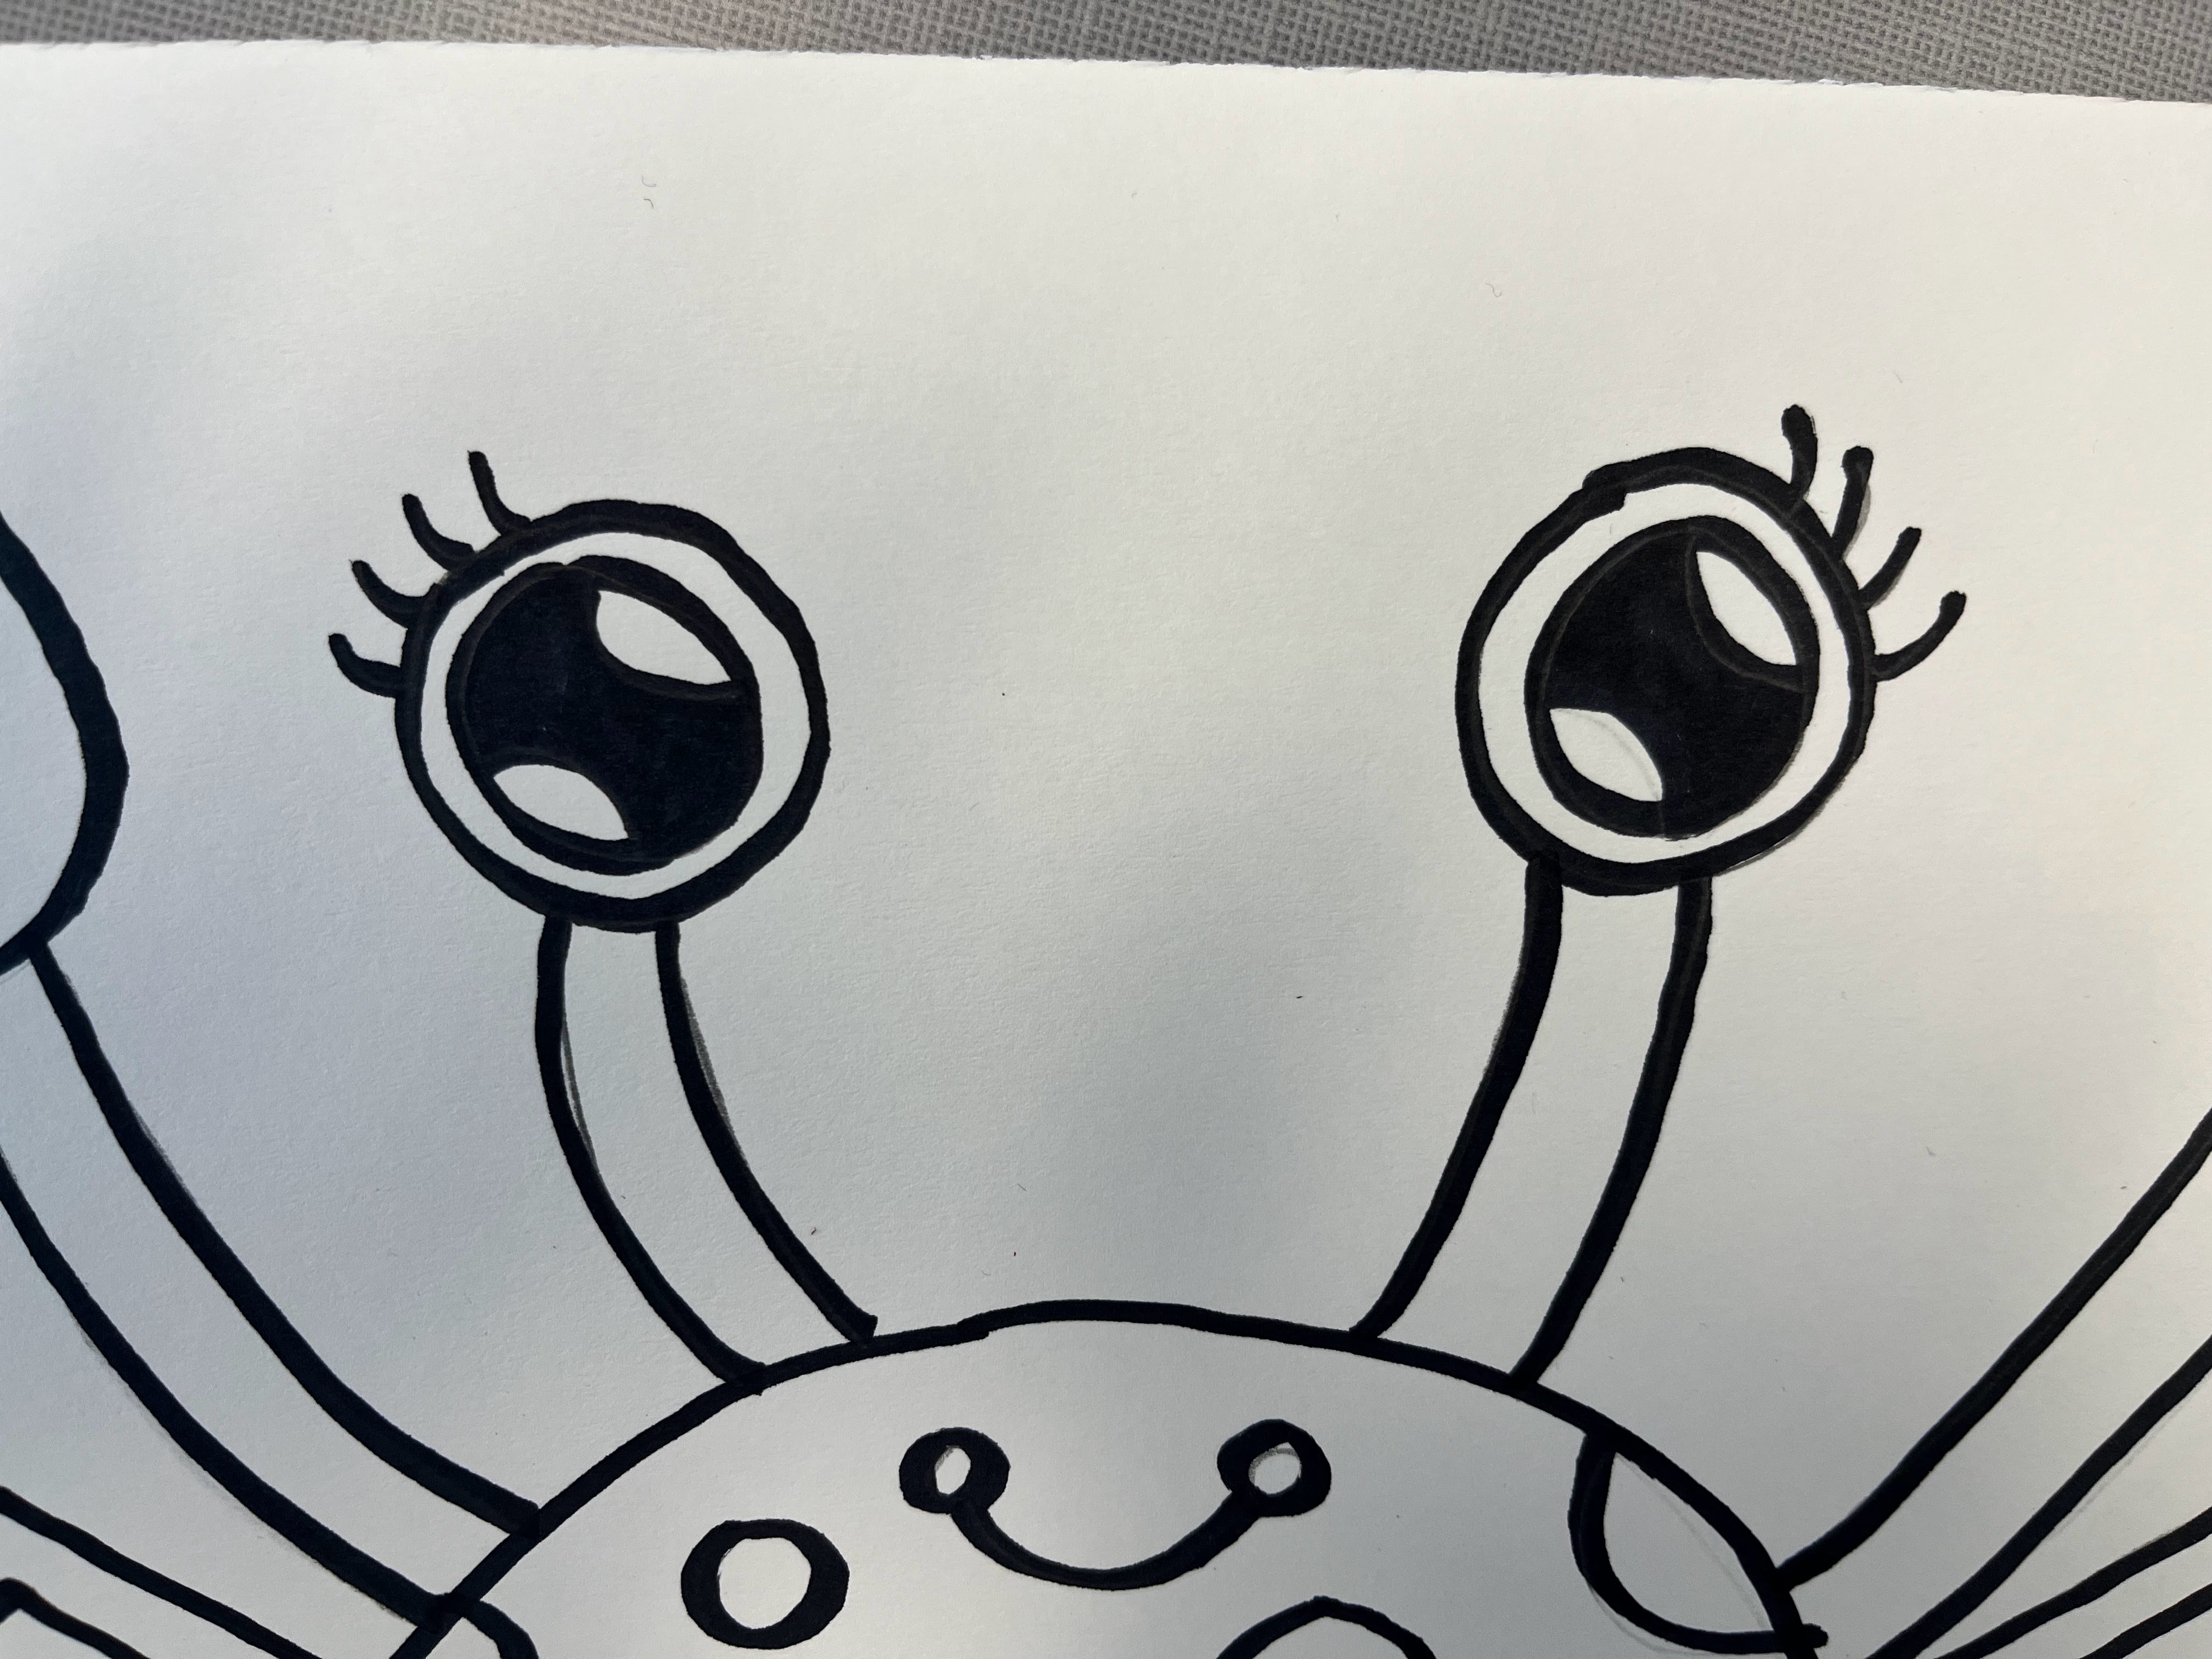

16. Now it's time to color in our crabs! Use the neon oil pastels on your table. Oil pastels are fun to use and different than crayons that we are used to. You don't need to press hard or color the whole thing in. You can use your finger to blend the color in to your page. Baby wipes are helpful on this step for students to wipe their fingers off when they change colors. Make sure to color in the highlights of the eyes so they shine when we have the black light on! 


17. Next switch to neon tempura cake paint to paint the background of the crab. The tempura paint will resist anywhere that is colored in with oil pastels. The tempura paint cakes work similarly to water color paints. Get the paintbrush wet and swirl it around on the tempura cakes. These can be buildable, so if at first the paint is too light and you want it to be more vibrant, get more paint on your paintbrush. 


18. Next if you would like to add neon splatter to your crab, take turns taking your project to the spray station and one of the volunteers will help you spray your picture. The neon yellow stands out the best, but the other colors look great, too! (Volunteers make sure to shake up the spray bottles of paint as the paint tends to settle on the bottom). 


20. Way to go! You drew a crab! If time allows, close the shades in the classroom and turn the black lights on (they are either under the desk at the back of the classroom or they may already be plugged in around the room). Turn the lights off in the classroom and let the students see their crabs glow! 


Monday, December 4, 2023

Third Grade: Sea Turtle

Third Grade - Sea Turtle 


For the second project of the year, all of the classes will be making a glow in the dark sea creature! We will be using glow in the dark paint and neon oil pastels to make our sea creatures come to life. At the end of the year art gallery, we will display all of the glow in the dark sea creatures in our very own Glow Gallery! 

(Photo courtesy of Cassie Stephens' blog)

Each grade will do a different sea creature. Third grade will be making sea turtles! 

Supplies: 

  • Rectangular mixed media paper
  • Neon/florescent oil pastels
  • Black marker
  • Pencil
  • Neon tempura cakes
  • Paint brushes (medium)
  • Dog water dishes with sponge
  • Baby wipes

    Please use the document camera in the classroom to show the step by step instructions. One art volunteer can sit at the desk at the front of the room to demonstrate the steps and guide the students through the project. Here are step by step instructions for how to draw and color the sea turtle. These will also be printed out and available in the classroom for you to lead the students through the project. 

    Try to save a few minutes at the end of class to turn the lights off in the classroom and turn on the black lights that are in the art closet (or they may already be plugged in around the room). The kids will love getting to see their art projects glow! The squeals of delight will be worth it! ;) 
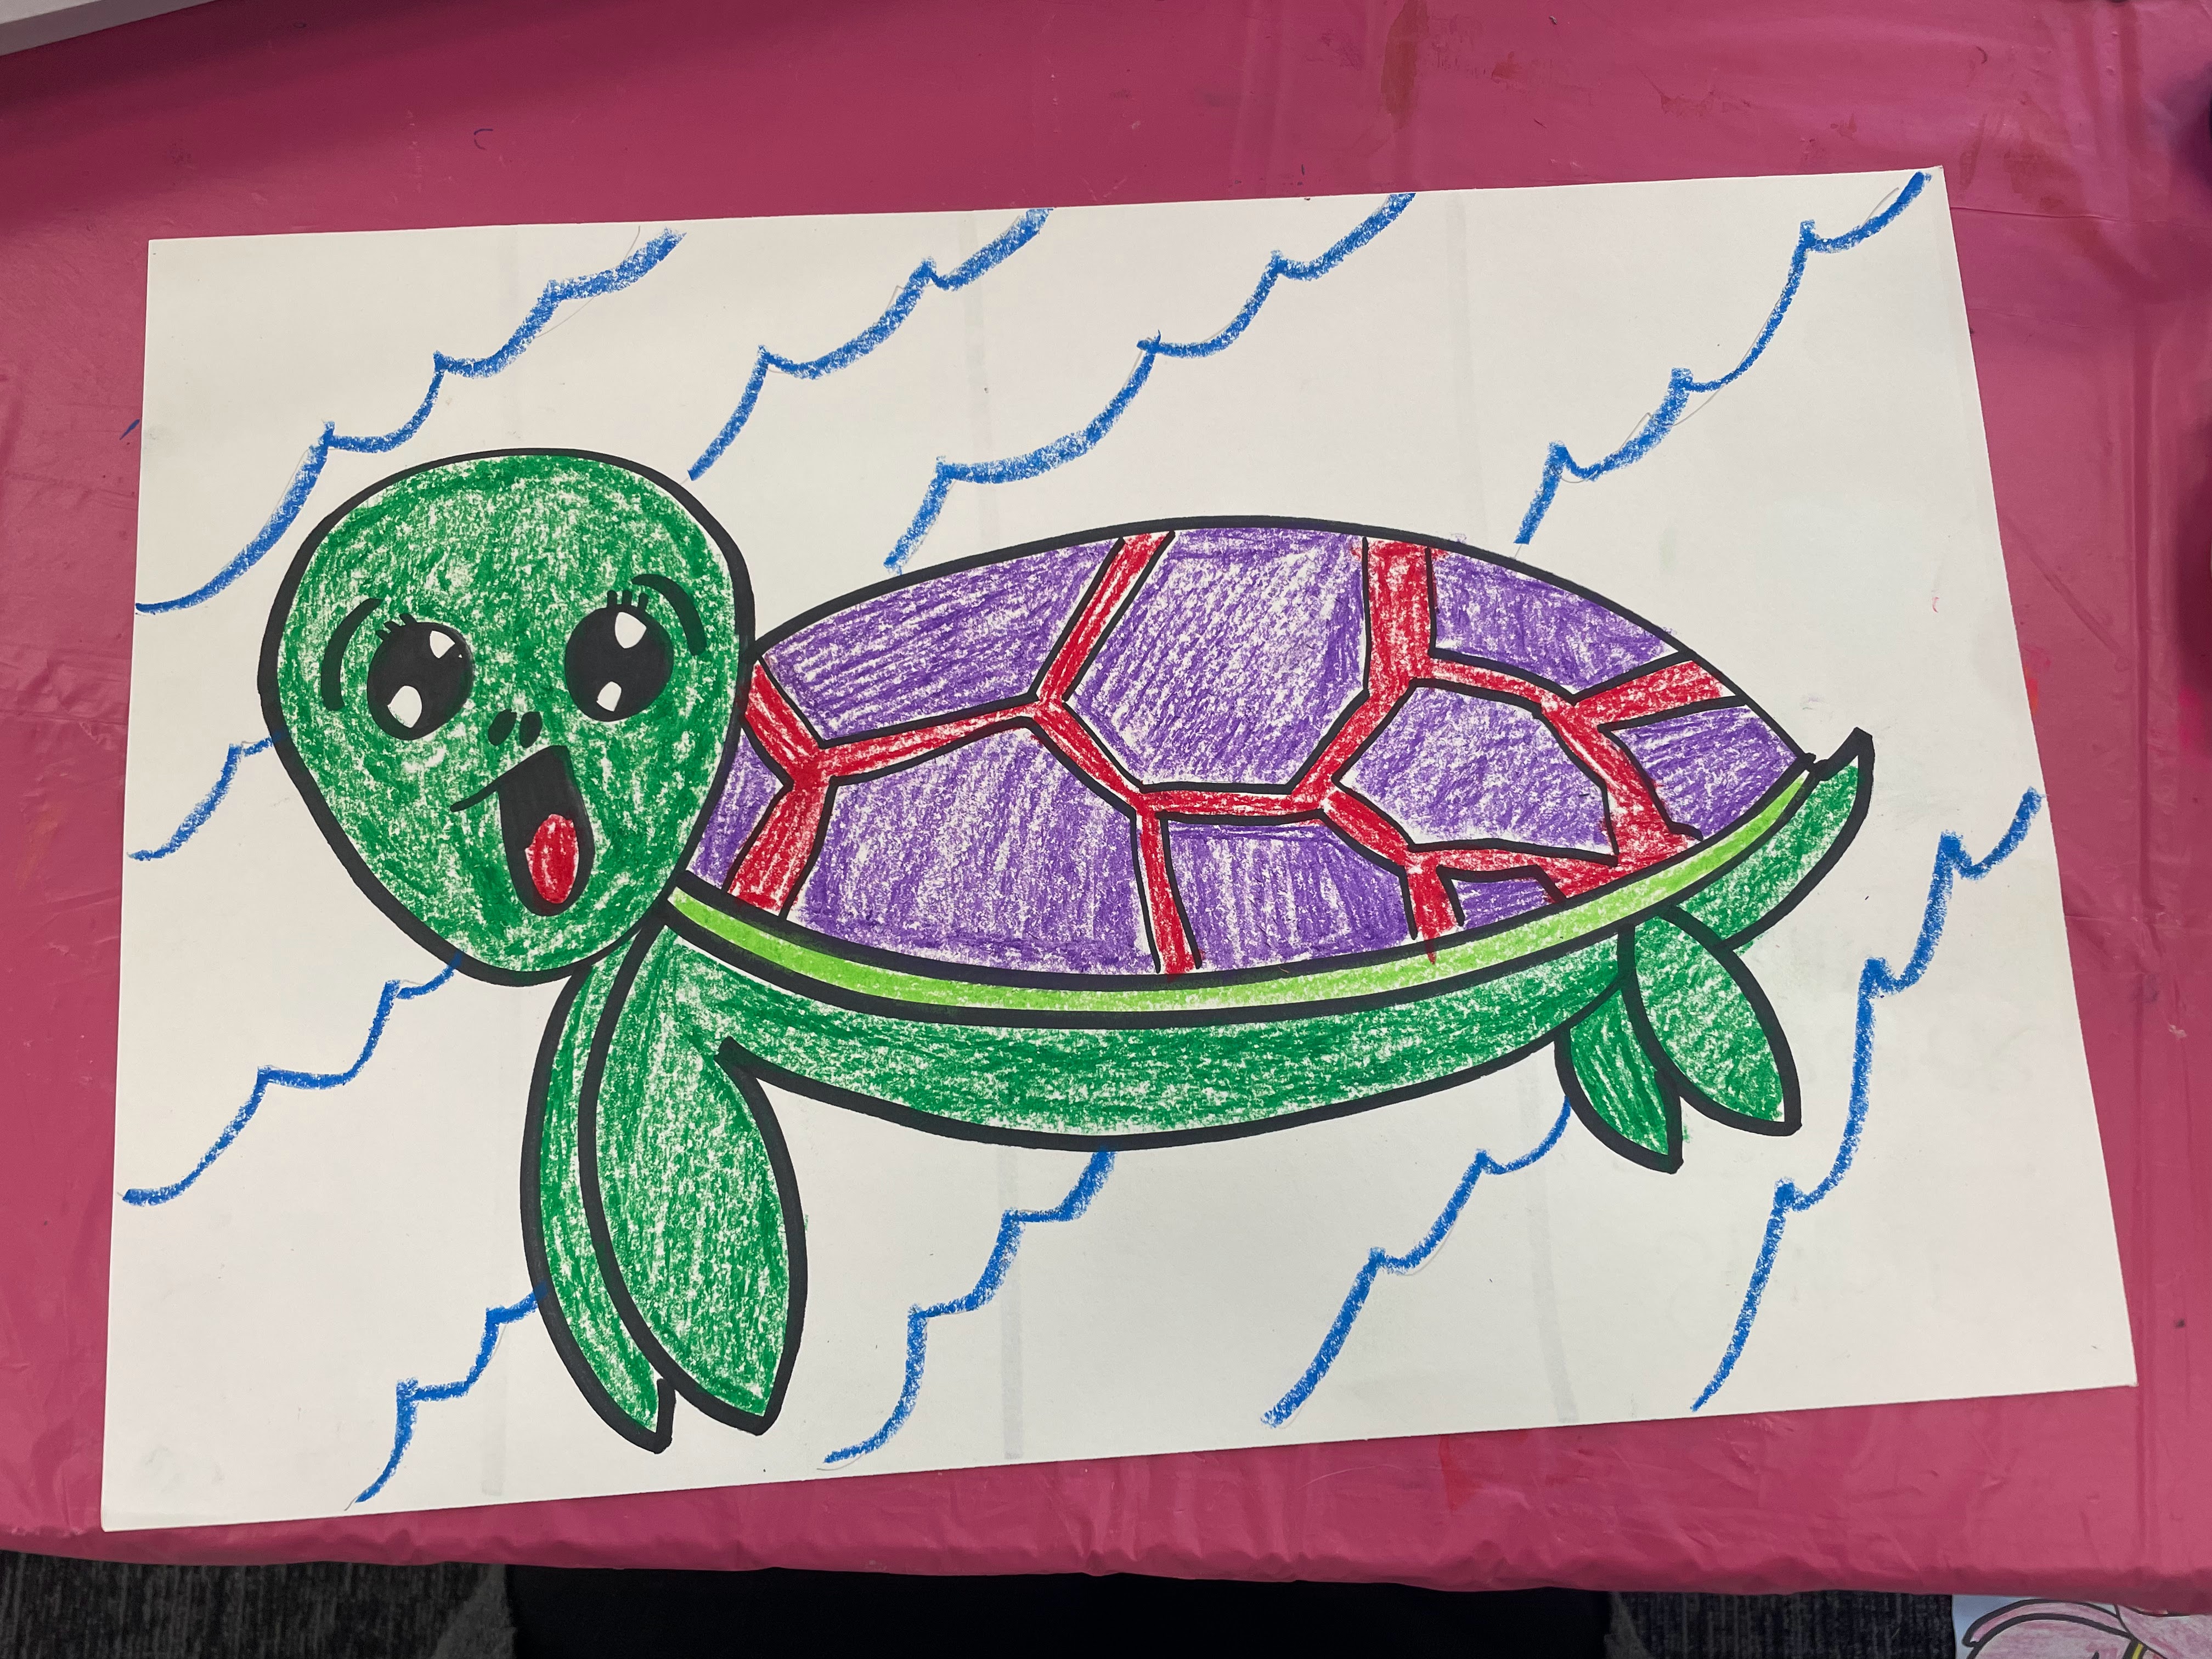

1. Write your name and your teachers name on the back of the paper. 

2. Flip your paper over. With your pencil draw three small lines/dashes on your paper. We will use these as guidelines to make sure we draw our turtle nice and big! Draw one dash in the middle. Now your paper is evenly split into to halves. Now draw a dash between the left edge of your paper and the middle dash. Do the same on the right side. Now your paper is divided into four equal parts. 


3. Pick up your marker. (These instructions were done in pencil, but for time saving purposes, we will have the students draw in marker. It took up too much time to have them draw in pencil and then trace the whole drawing in marker). 

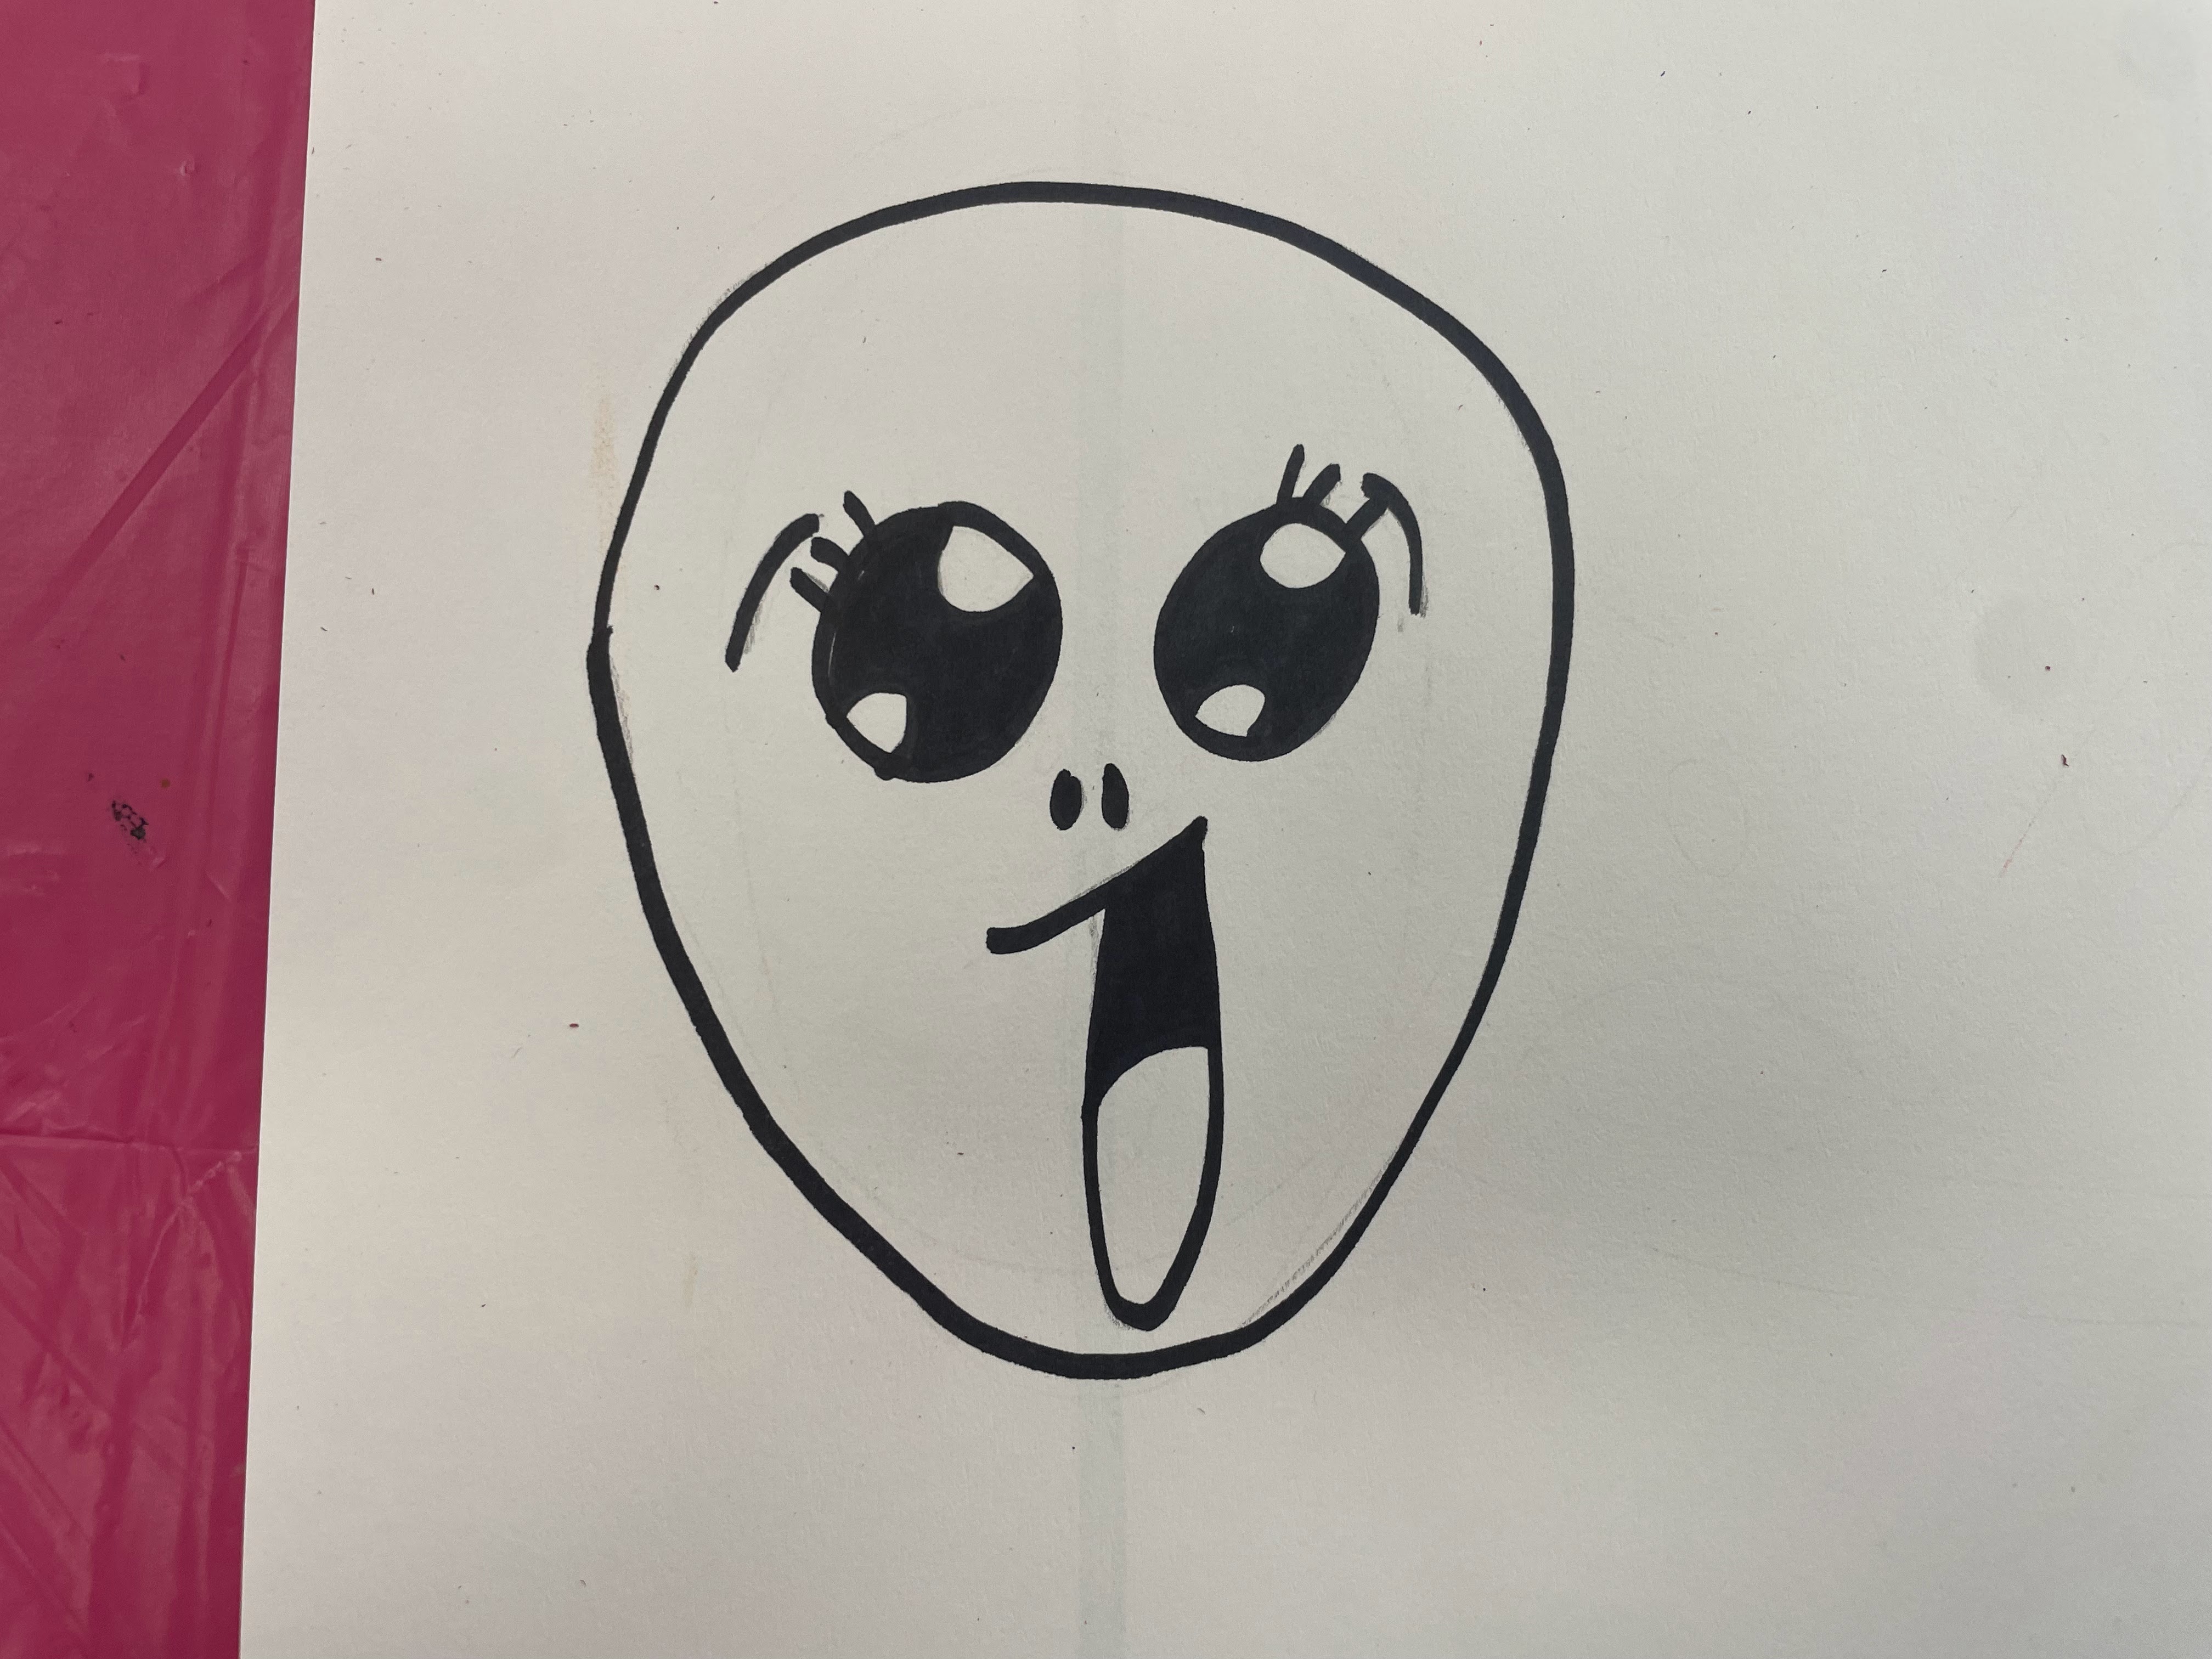
4. Find the guide line that is on the left side of your paper. Go up a few inches from that mark and draw two circles about the size of a quarter that will be your turtle's eyes.  Evenly space the circles on either side of the guide line. We will trace over the pencil lines with marker later.  


5. Draw two half circles on the top right part of the eyes. 


6. Next draw two half circles on the bottom left of the eyes. 


7. Draw two small circles below and between the eyes for the nostrils. 


8. Next draw the top of the mouth. Draw a diagonal line below the nostrils. 


9. Draw a U shape under the line for the open mouth. Leave some of the line sticking out on the left side. Draw the tongue in the mouth. 


10. Next draw a large U shape for the the bottom part of the turtle's head. 


11. Finish the turtles head by drawing a half circle. 


12. Next add some eyebrows and/or eyelashes 


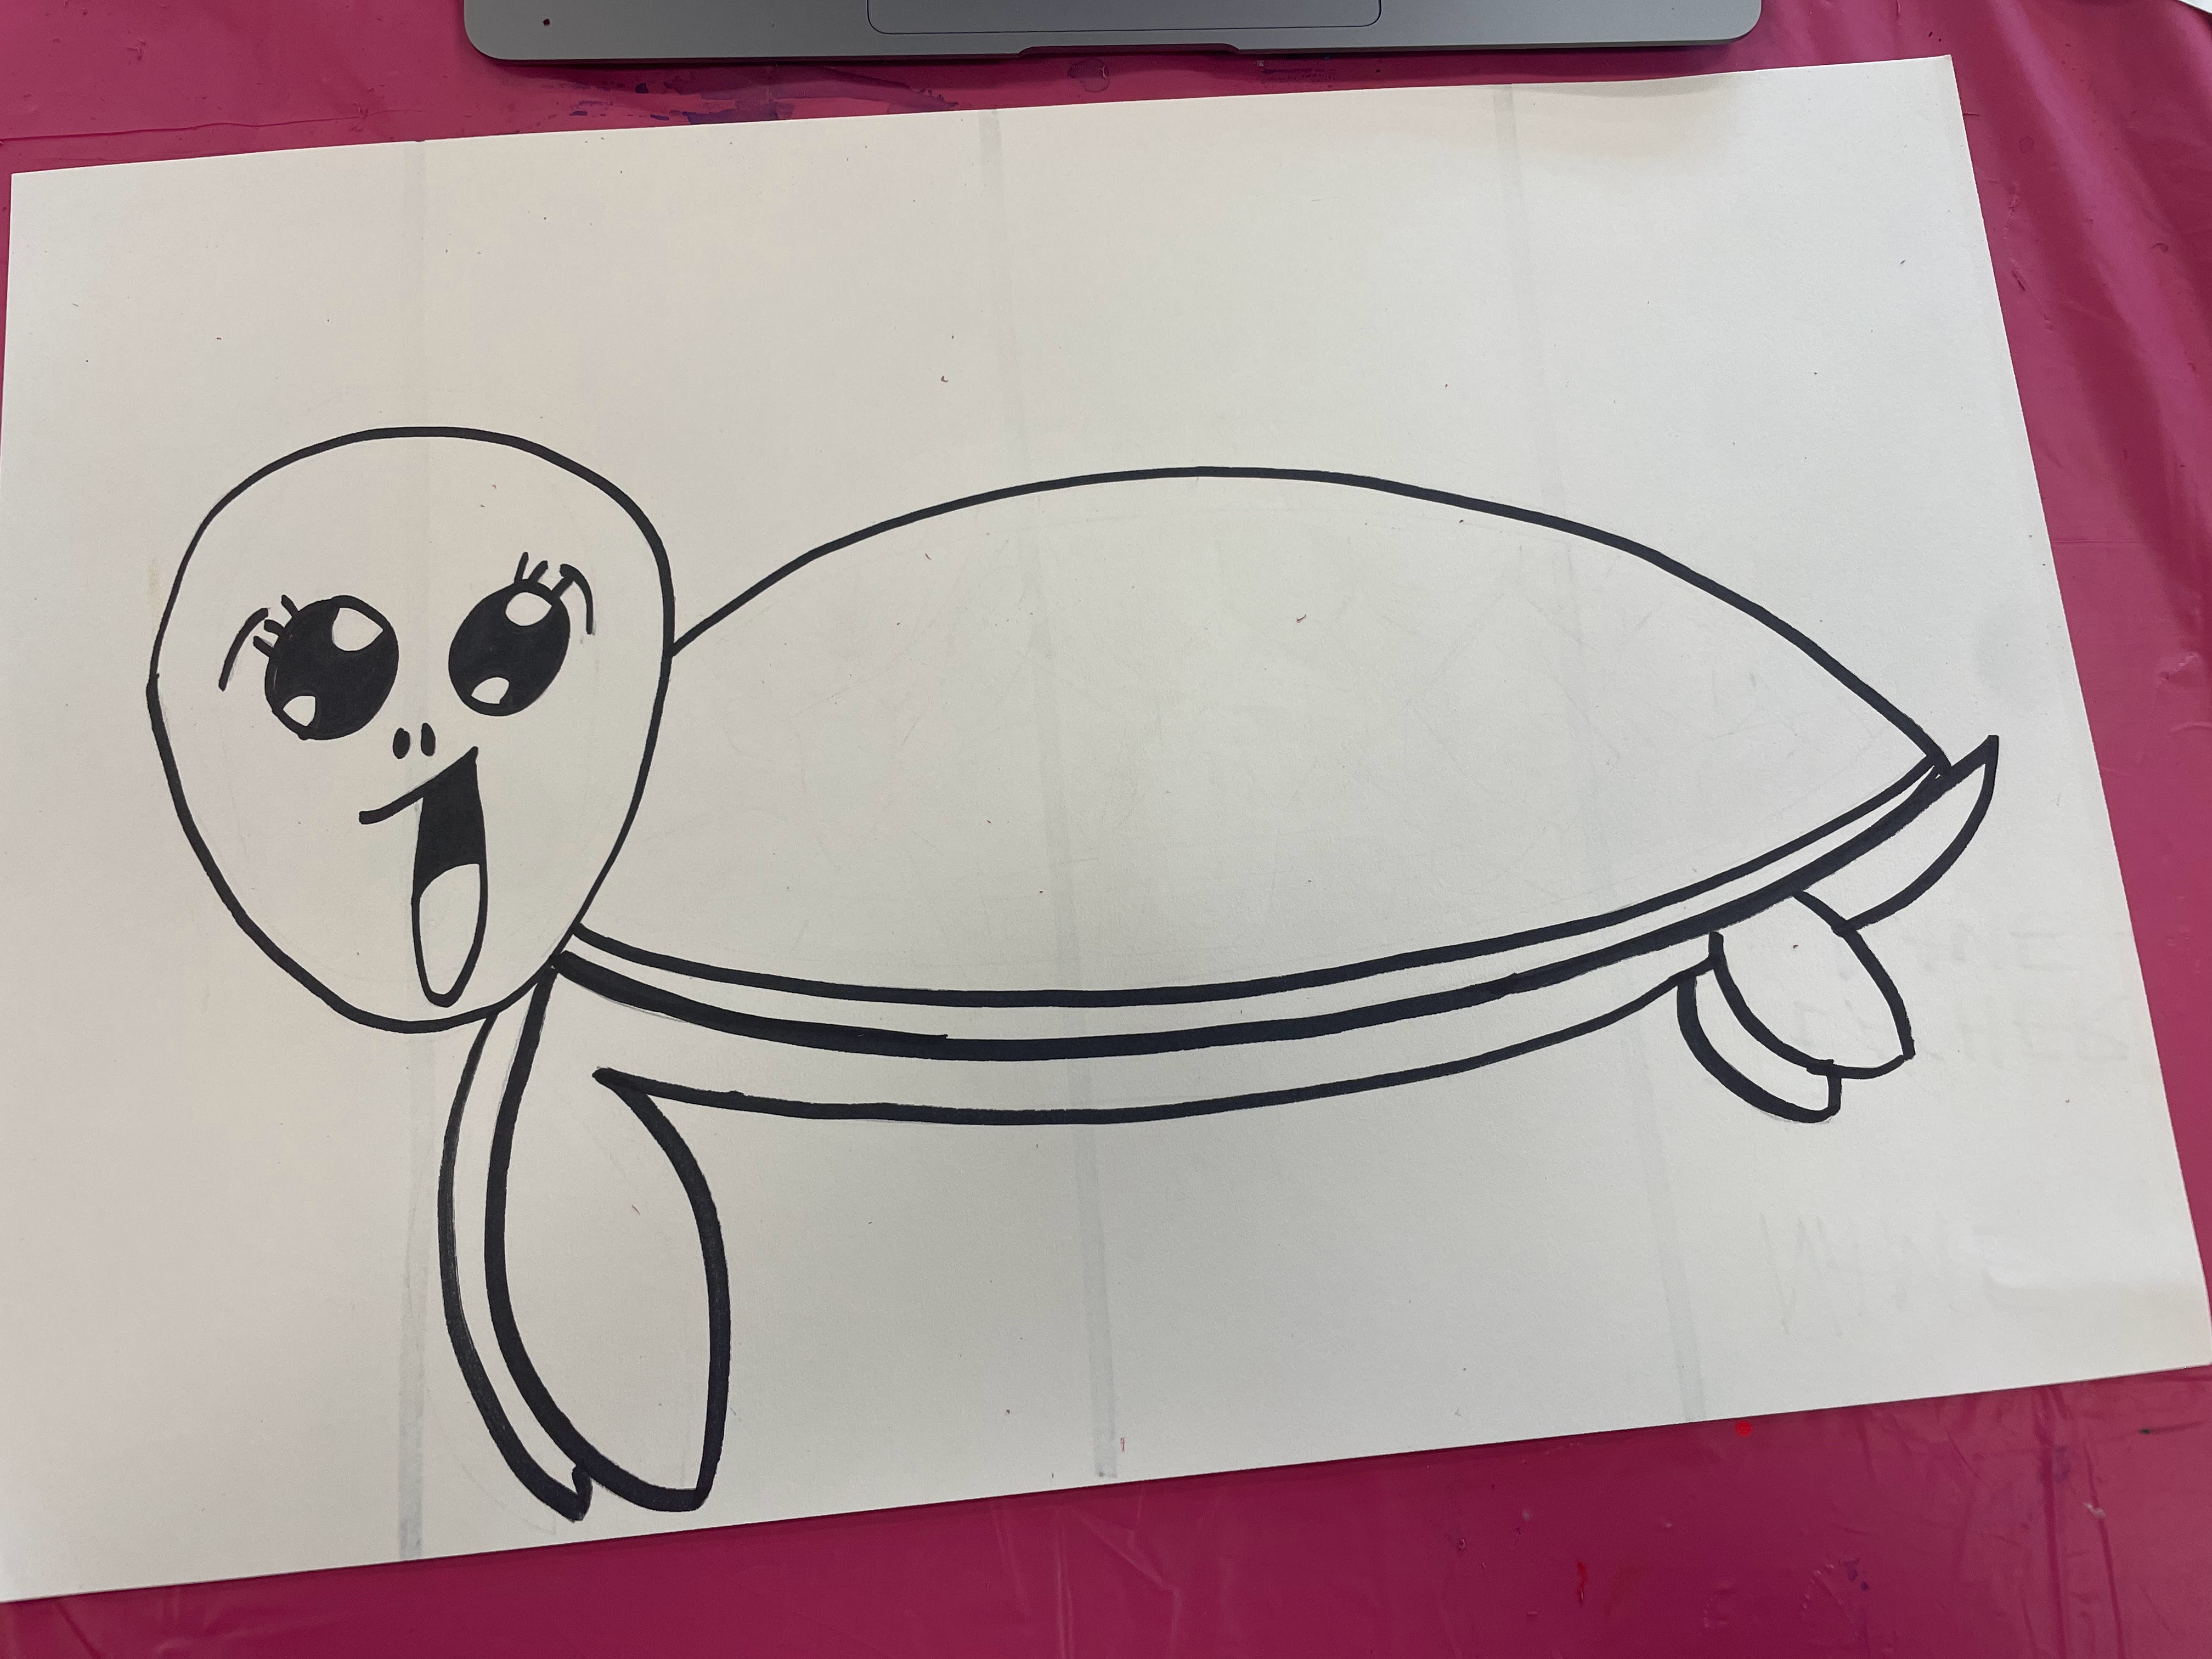
13. Next draw the top of the turtle's shell. We want to take up most of the paper, so make sure you draw the curved line long enough so it passes the guide line on the right side. 


15. Now draw the bottom part of the shell. Connect the bottom part of the shell with the top part. 


16. Draw another line parallel with the bottom part of the shell. This will give our shell depth. Try to keep the same amount of distance between the two lines. 


17. Now we are going to work on the turtles flippers. Starting at the bottom of the turtles' head, draw a curved line towards the bottom of the page. 


18. Now draw a curved line back up to the body of the turtle. Leave an inch or so of space before you connect the flipper all the way to the body. 


19. Next draw another flipper so it looks like it's behind the front flipper. 


20. Now draw a back flipper. 


21. Now draw a line connecting the space that we left from front flipper to the back flipper. This is the bottom part of the shell. 


22. Now draw another back flipper peeking out from behind the first one that you drew. You can make it a little bit smaller so it looks like it's farther away. Also, make sure to add a tail! 


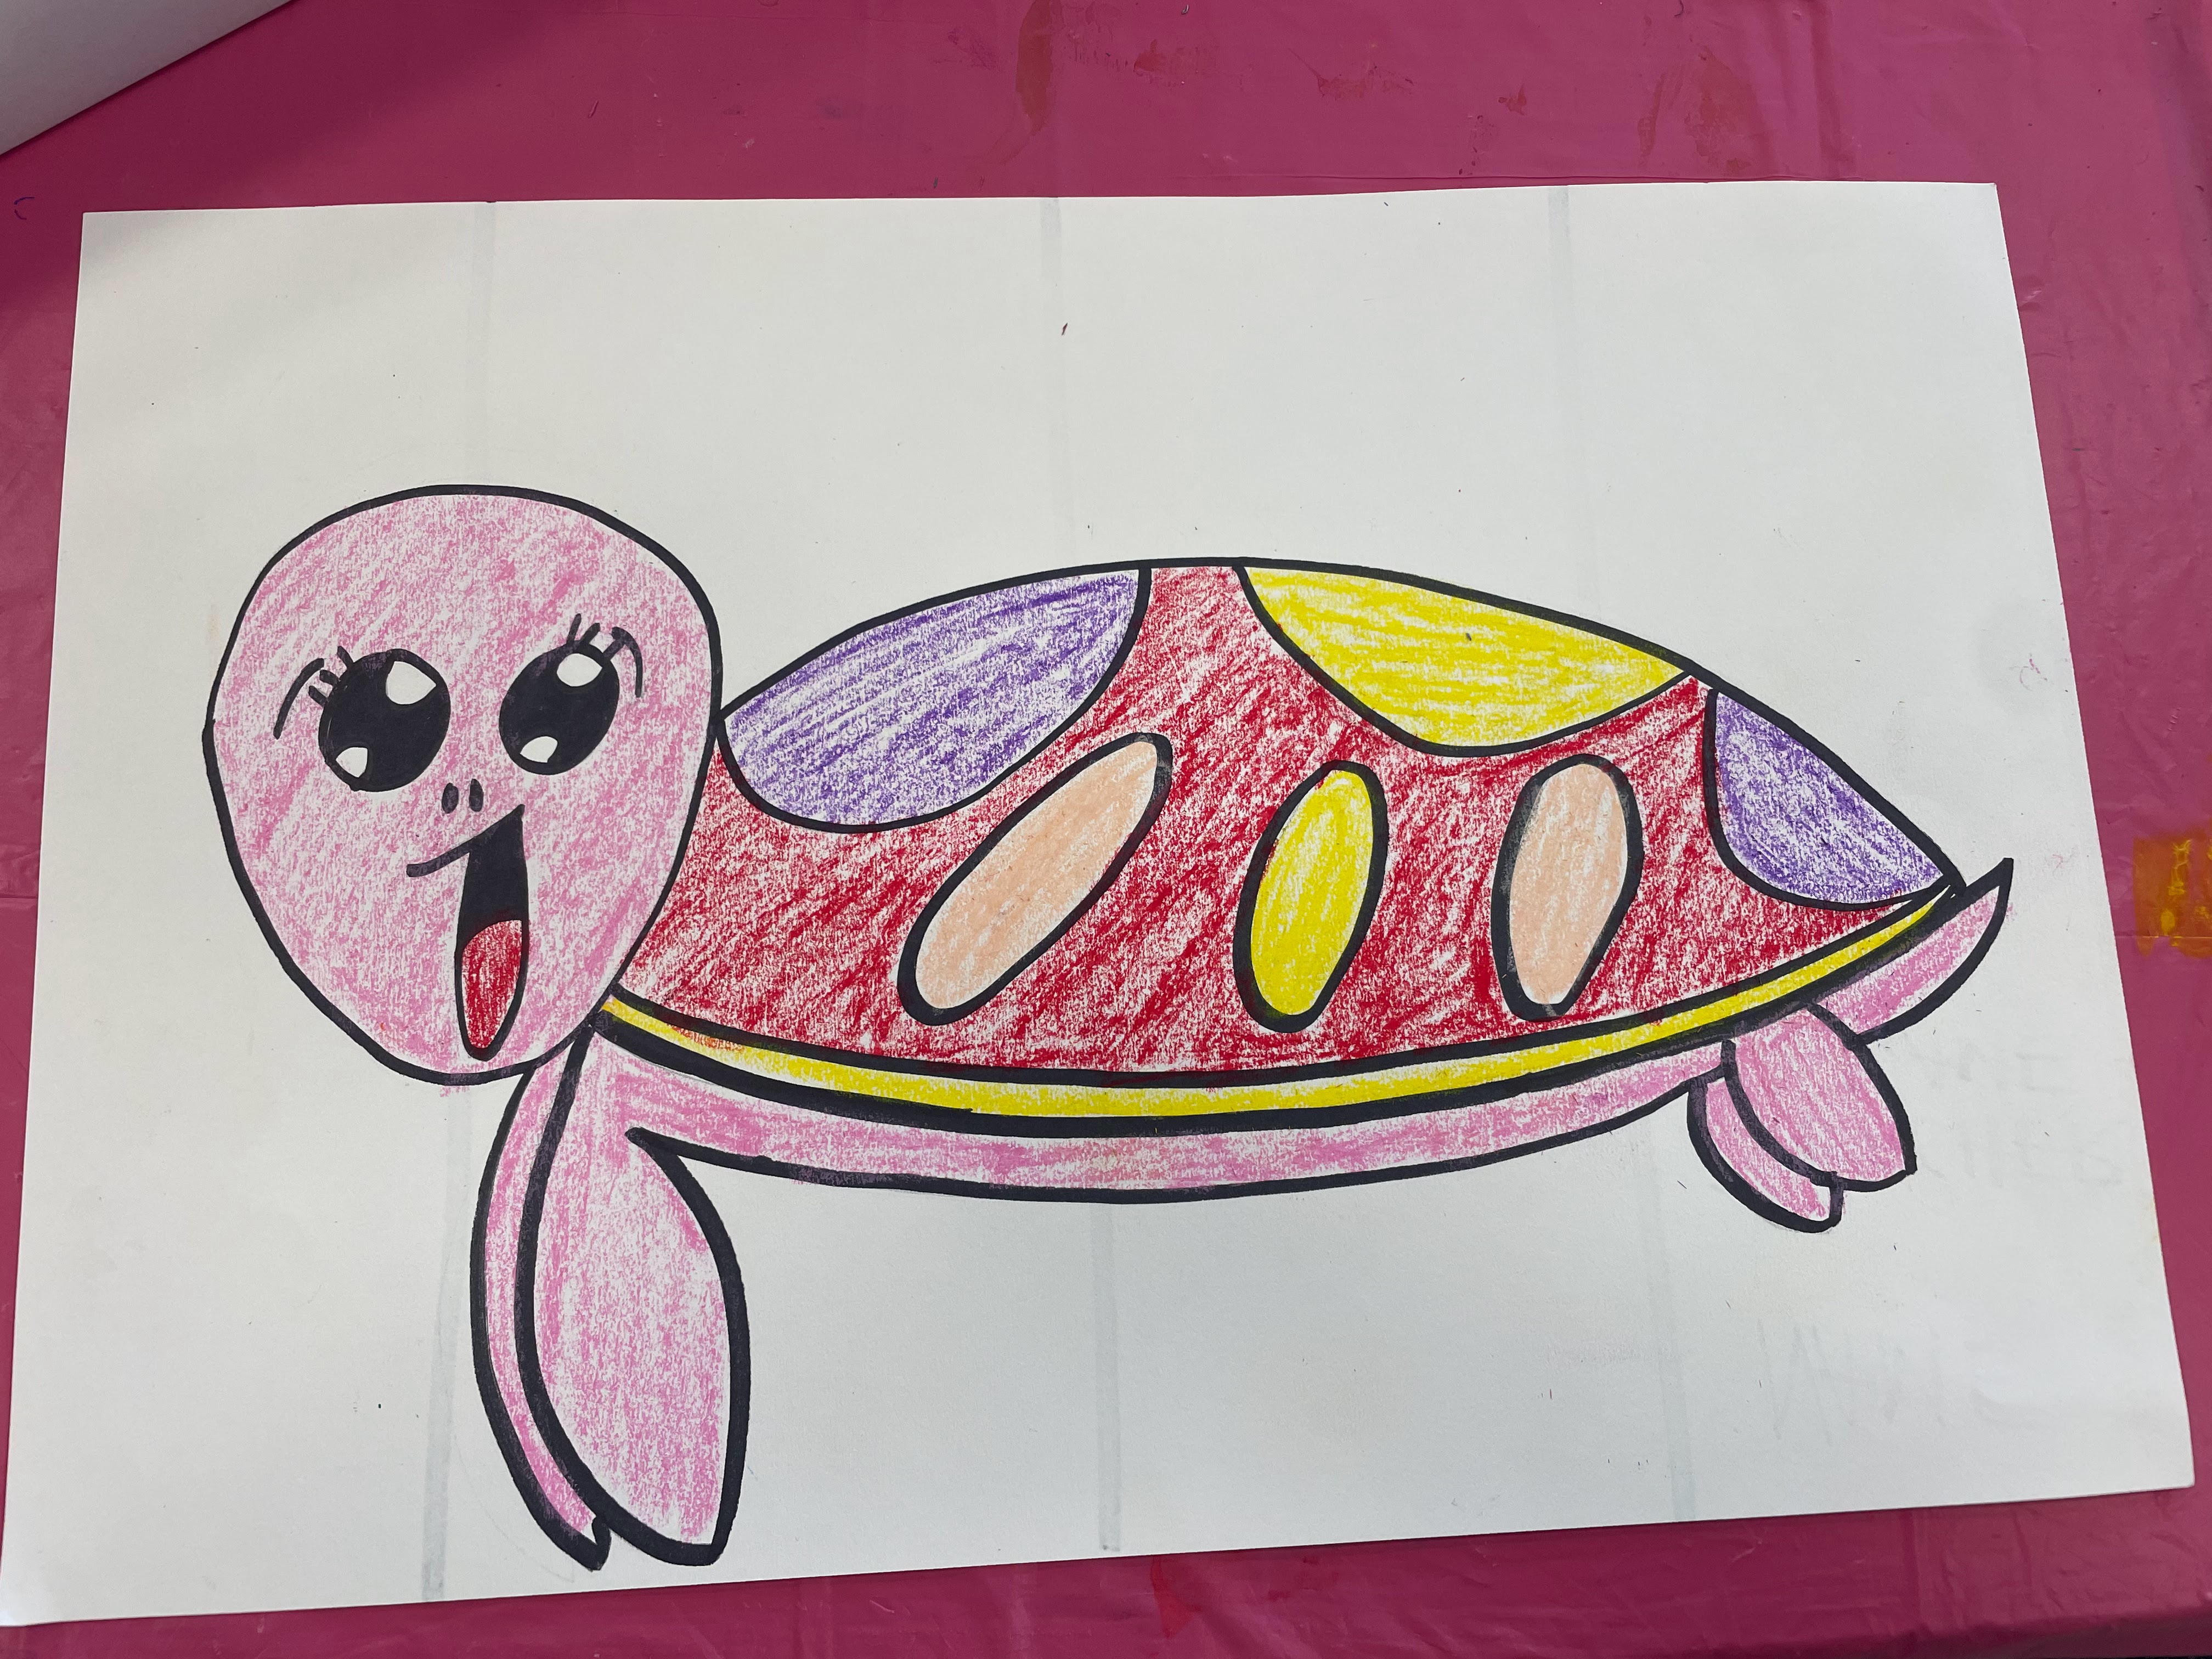
23. Next draw a few shapes on the shell of the turtle. You can draw circles or ovals, or you can make octagon shapes (scroll down to see the two options after they have been traced with the marker). 


24. Now pick out a few neon oil pastel colors. Color the entire turtle in with the oil pastels. You can color a bit and then spread it with your finger to blend it in if you would like. Blending it with your finger helps to smooth out the lines from the oil pastel. Wipe your finger off on a baby wipe before changing to a new color. 


Before and after smoothing with finger 


26. Next take a blue or green oil pastel and draw some waves in the background of your turtle. You can also draw seaweed or coral if you would like. 


27. Next grab a paintbrush and find the tempura cakes on your table. The tempura cakes work similarly to water colors that we are more familiar with. The tempura paint can be more vibrant depending on how much paint you have on your paintbrush. Decide on a few colors to paint the background with. Get the paintbrush wet and swirl it on the tempura cake. Then you can paint the background of your turtle. 


28. Way to go! You drew and painted a sea turtle! And your turtle will glow under the black lights! 


29. The final step is to spray the turtle with neon paint! Take your turtle to the spray station and spray it with paint. The yellow shows up best under the black lights but all of the colors are fun! Volunteers, please make sure to shake up the spray bottles of paint as the paint tends to settle on the bottom. 


30.  If time allows, it would be fun for the students to see their project glowing under the black lights! Close the shades and plug the black lights in (they are in the art supplies closet). Depending on how dark it is, they might need to take turns bringing their painting over to the black light. Or you could shine the light towards the classroom and it will illuminate their projects! 


POP ART SELF PORTRAITS - 2024

 POP ART SELF PORTRAITS Author: Melissa Hooker For this project students will be tracing their own photos to make an Andy Warhol inspired Po...