POP ART
PAPER PIZZA PILLOWS
(Claus Oldenburg Style)

SUPPLES
- White paper
- Brown craft paper
- pencil
- staplers (as many as you can borrow from teachers)
- staples
- scissors
- ruler
- blank newspaper from the roll
- Crayola Marker packs
- large paintbrushes
- red paint
- paper plates
- Elmers glue
- shredded cheese (yellow shredded paper)
- pizza toppings (construction paper strips)
Begin the class by briefly explaining the pop history below & show this video while you are talking to show some famous pop art works. (There is no sound on this video)
POP ART HISTORY
Pop art is an art movement that emerged in the 1950s. It came as a reaction to the more serious looking art that came before it in the 1930s and 40s. Pop art is meant to be fun, bright, and attention getting. It uses images and icons that are common place or popular....Hence the name Pop Art. Well-known celebrities & movie stars are shown in pop art and also commercial items like soup cans, and soft drinks, comic books, and any other items that are popular in the world can be considered pop art.
One artist in the pop art movement named Claes Oldenburg (pronounced like Cloud but take off the D at the end and add an S) became best known for his work of giant sculptures of everyday objects. Let's watch this short video to see some of them.
https://youtu.be/WOCrUwLgglE?si=ury3r012OWxtvUzm
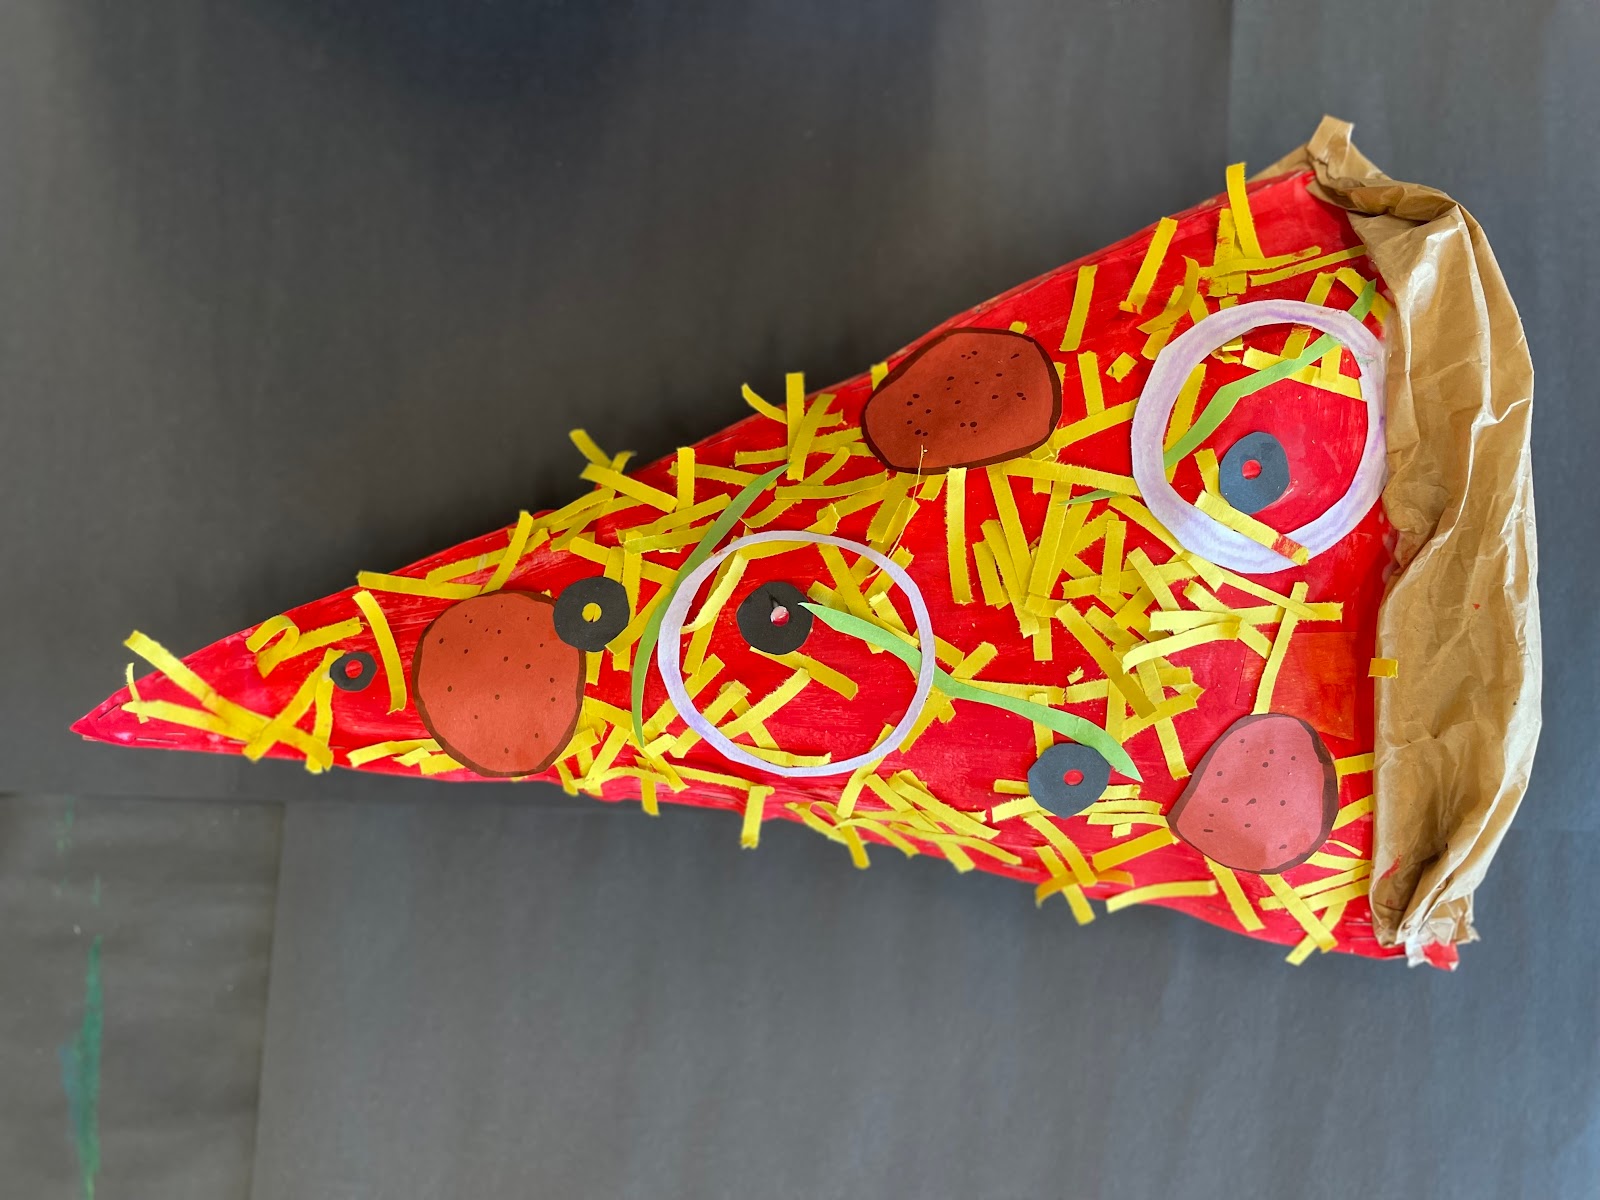
Today we are going to create our own giant sculptures of the most popular food item in America...PIZZA!!!!!
 Starting at the bottom center of the paper and using a ruler & a pencil, draw the two angled lines up and out to the top corners of the paper.
 Hold the white and brown paper together and cut the triangle out
 Using a stapler, staple all around the edges of the pizza leaving the top open. *careful of your fingers*

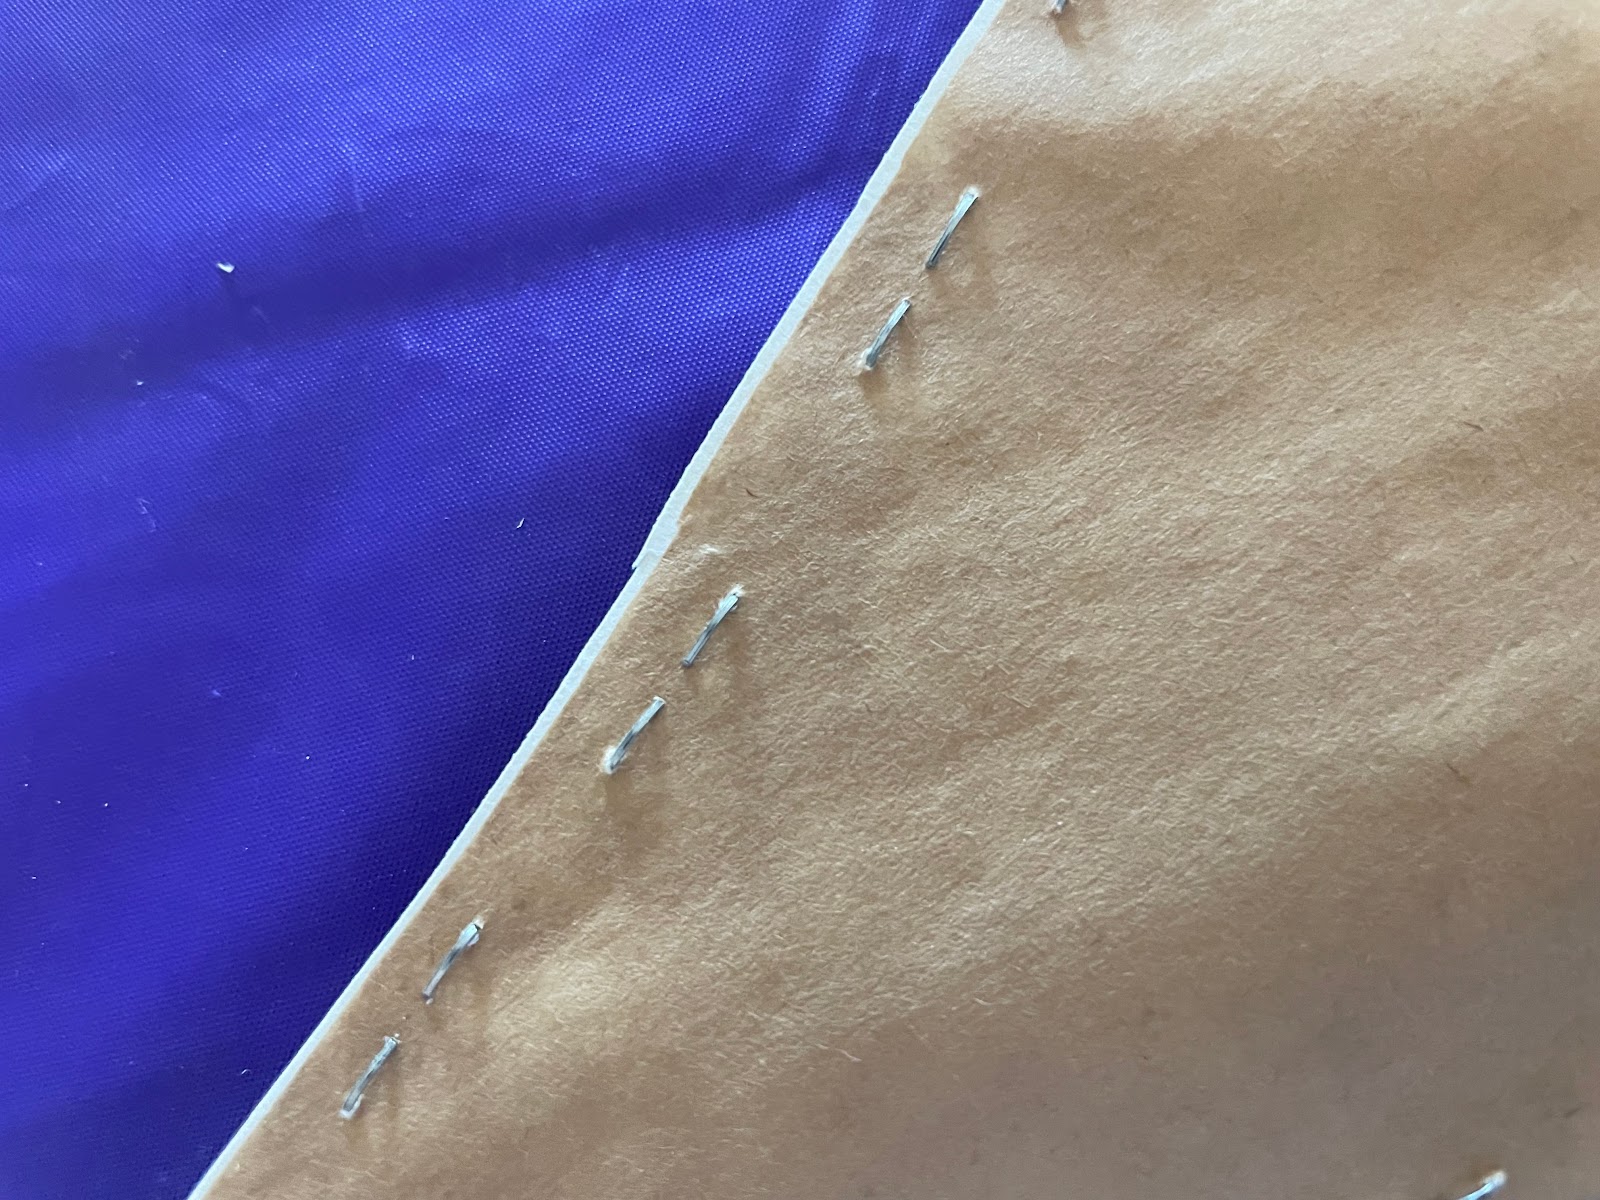 Make sure your staple goes through both the white & brown paper completely, if it gets too far onto the edge, add a couple of staples to secure it.


 Make sure to leave some of the stuffing sticking out of the top.
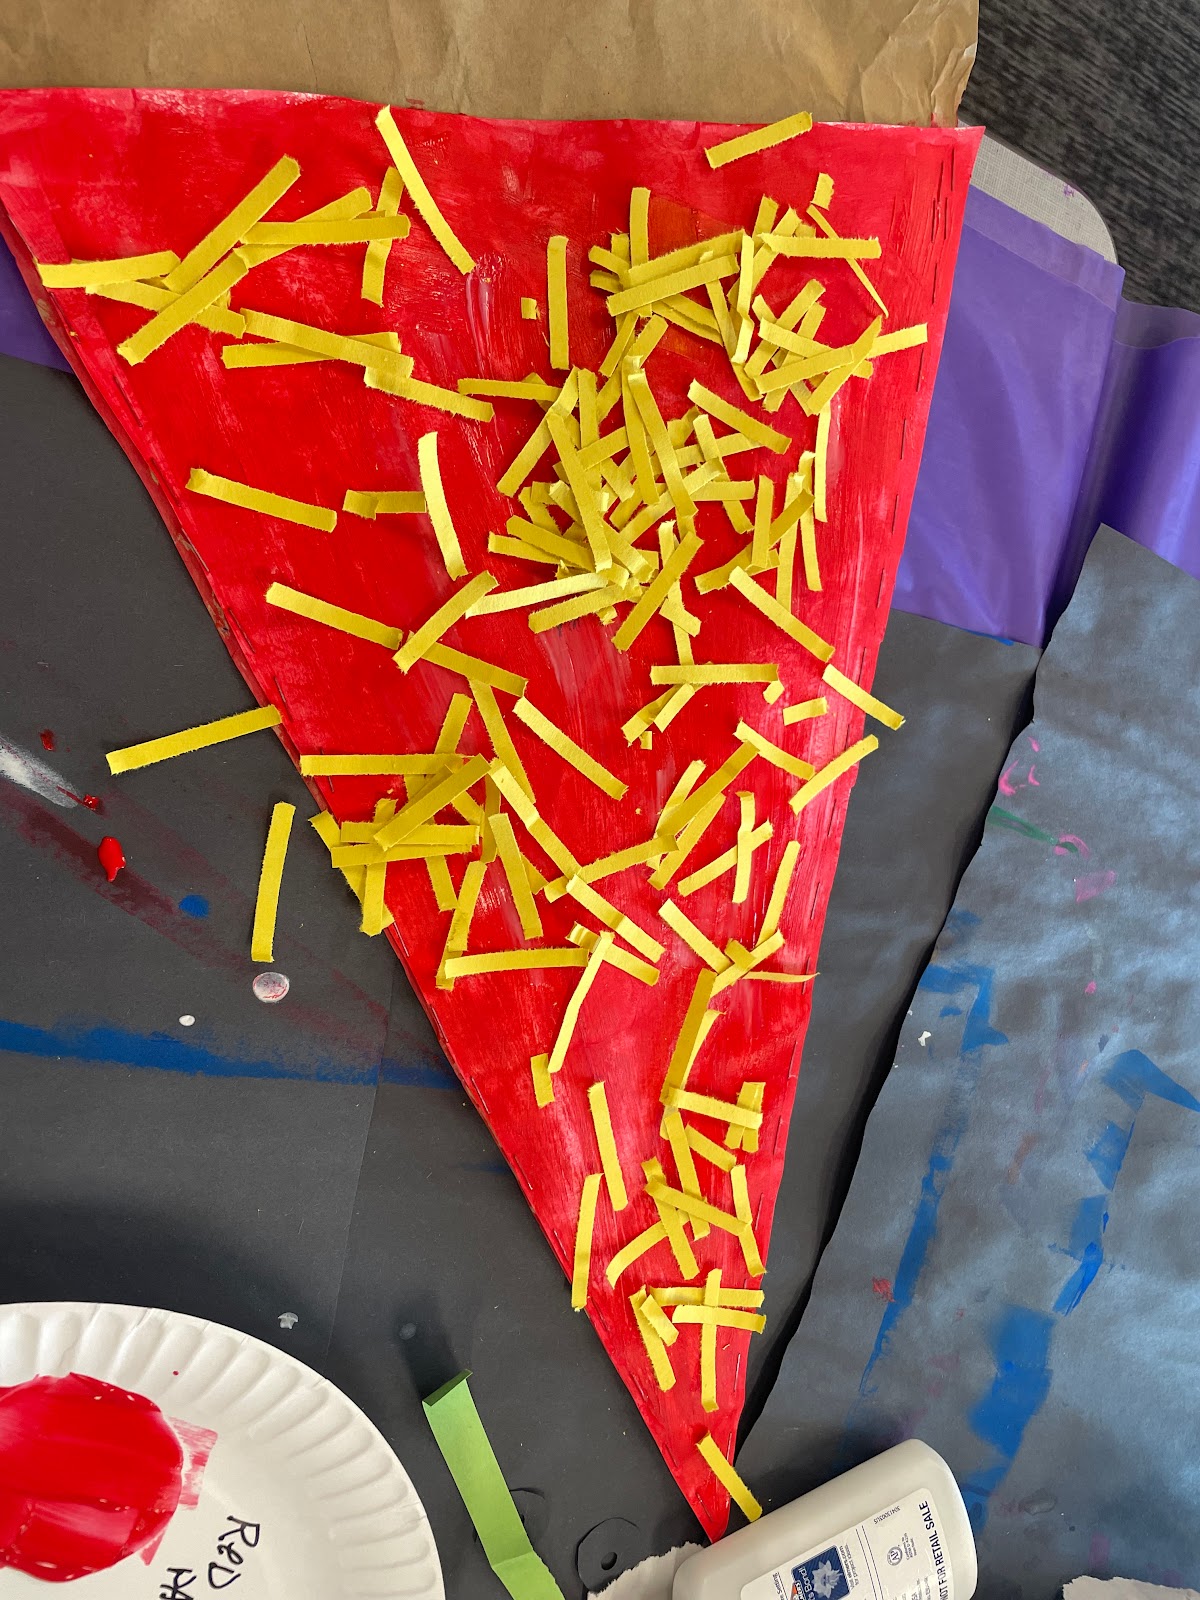
 Next using a large paintbrush, we will paint our sauce onto our pizza making sure to get all the way to the edges. Once it is covered in the red paint, squirt a good amount of Elmers glue all over the pizza. With your same paintbrush (still with paint on it) spread that glue all around the sauce.

 Then add shredded cheese. Use your hands to push the cheese down a little so it sticks to the sauce/glue mixture.

 Now we will set aside our stuffed cheese pizza's for a minute and create our toppings!
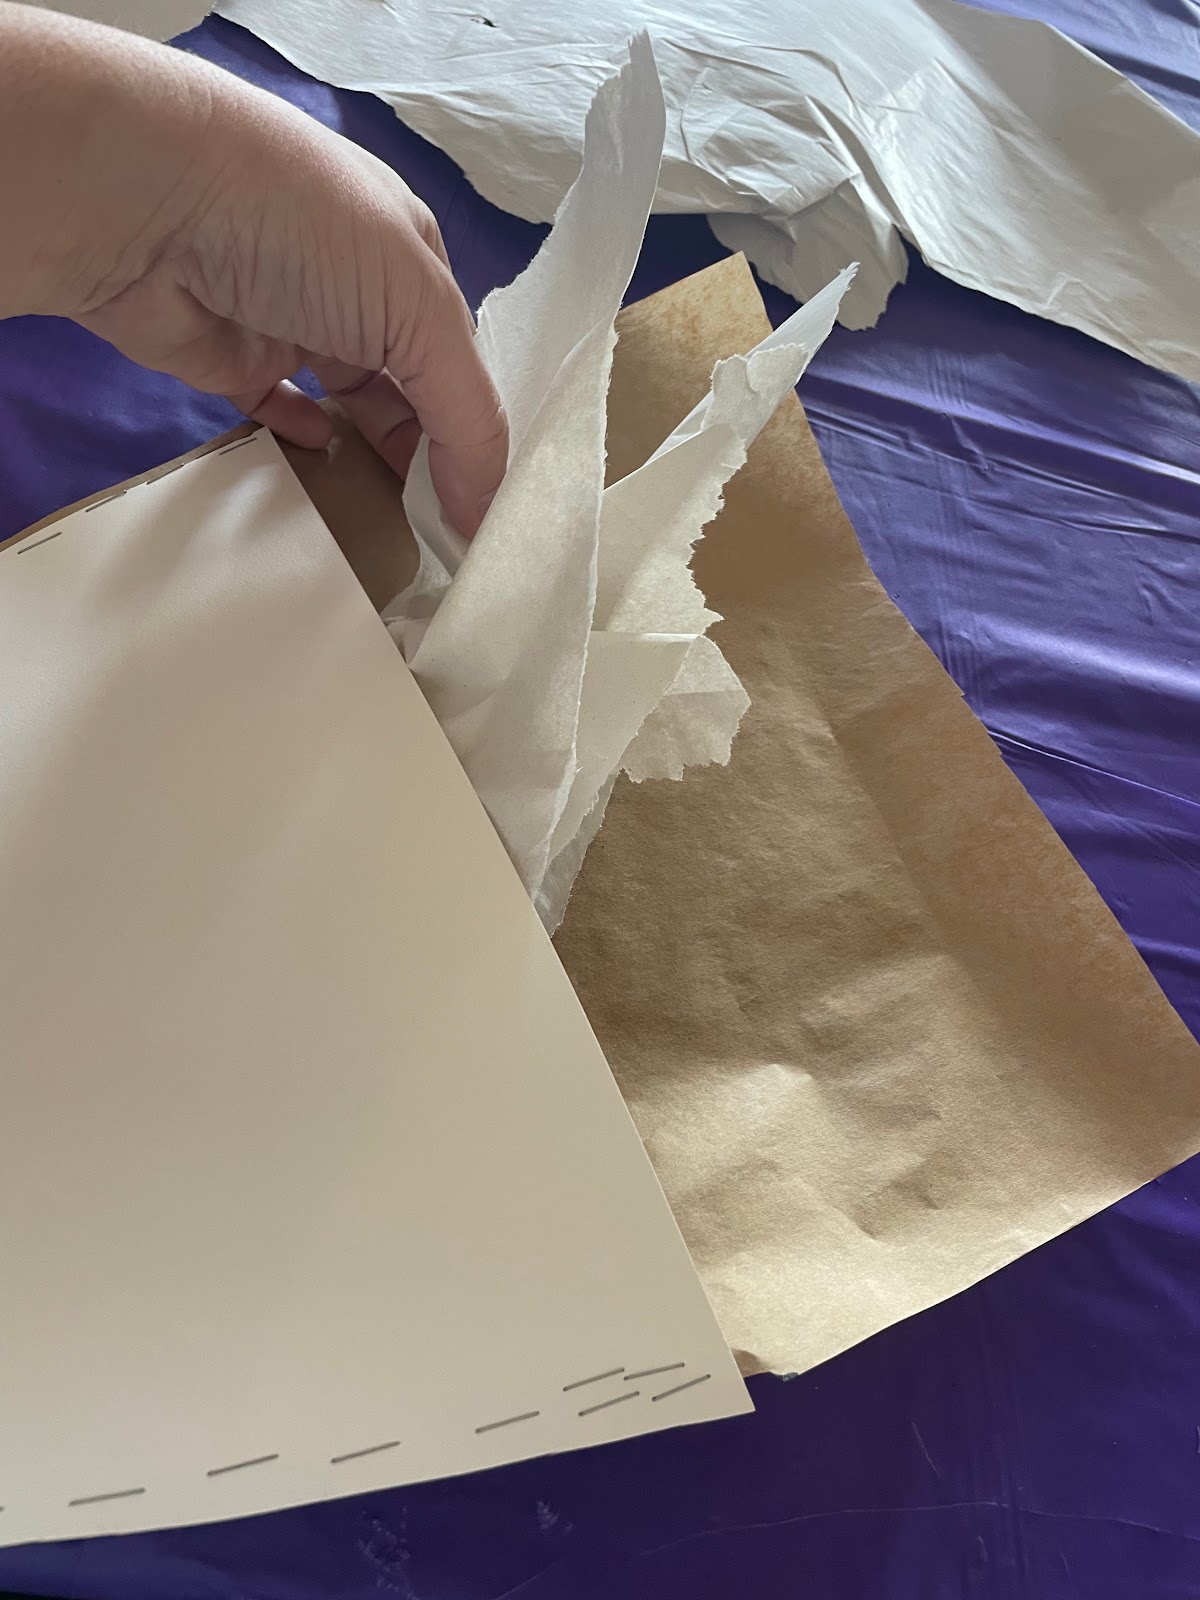
Each student will have one sheet of brown craft paper and one piece of white paper. The brown paper will be cut about 5 inches longer than the craft paper
Scrunch or rip up newspaper and gently stuff your pizza to give it some dimension.
**Volunteers can collect paintbrushes in water pitchers and begin to clean them ***
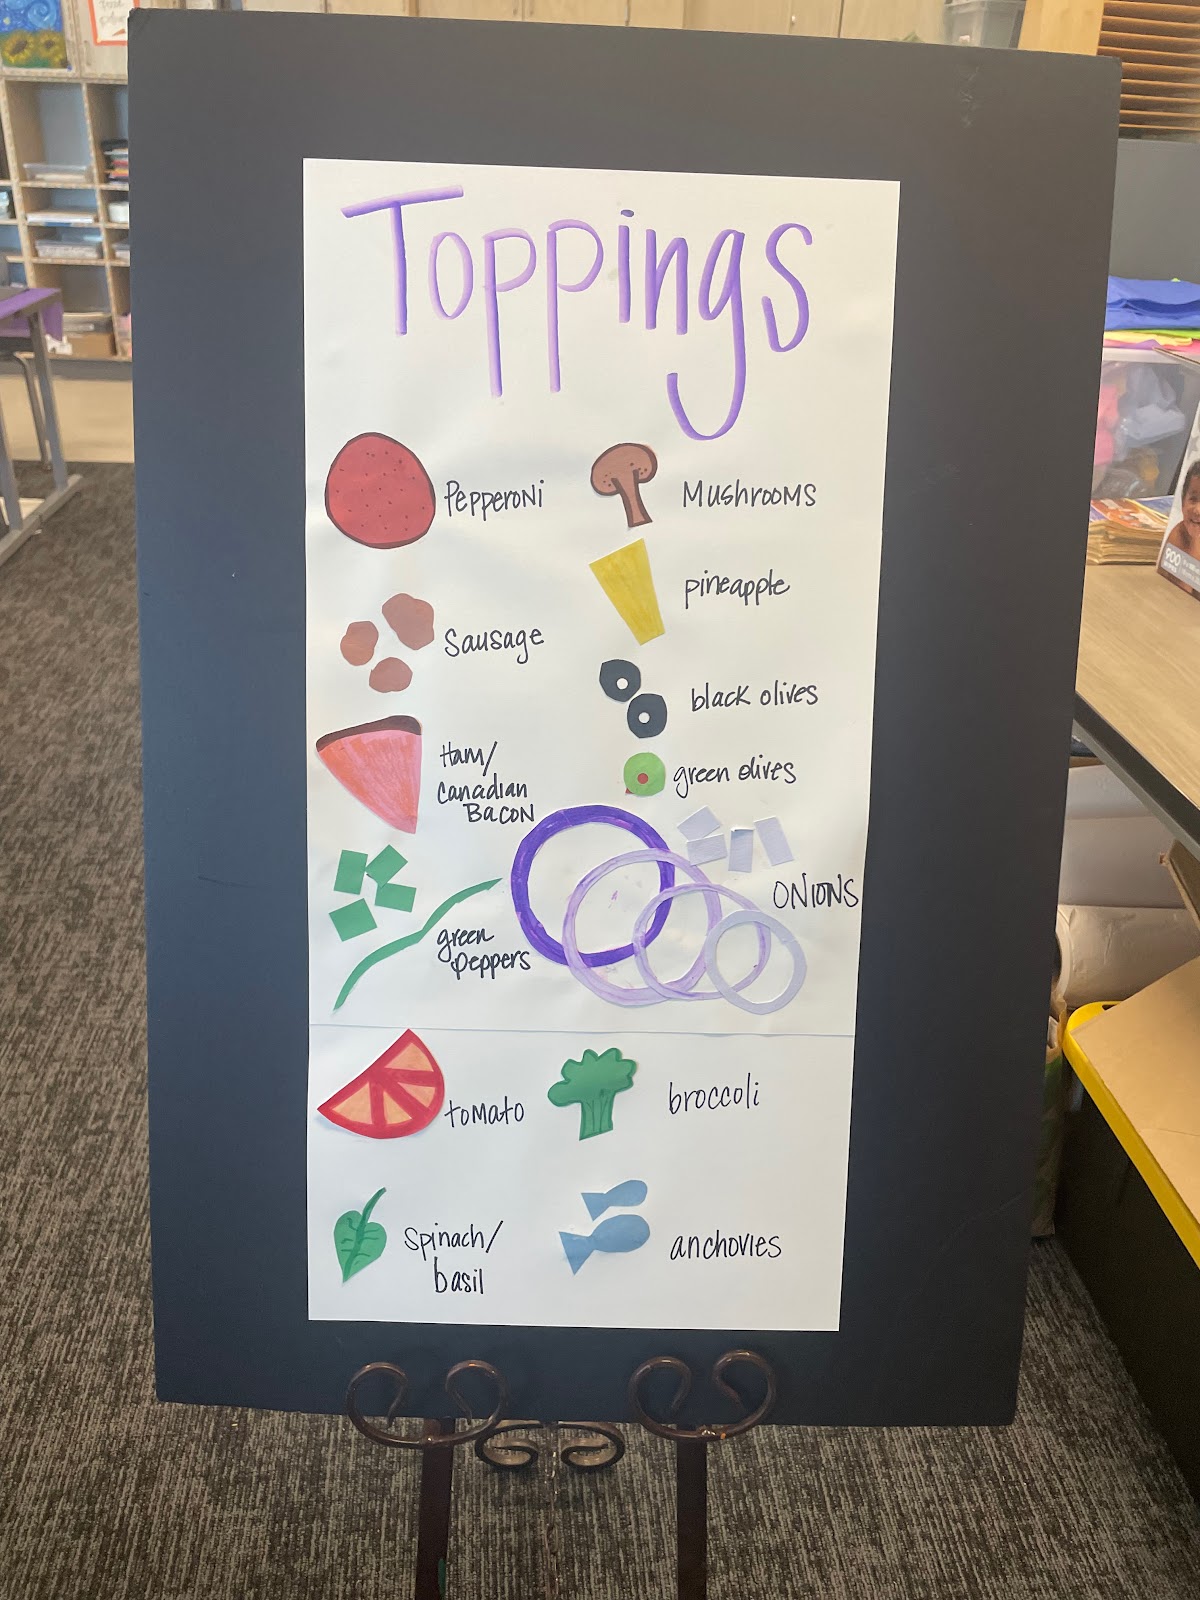
This poster board with topping ideas is in the art room back by the finished art/teacher organization rack. Display this on the easel in the classroom. Quickly run through these popular pizza topping as inspiration and maybe invite the students to come look at the examples if they need help figuring out what toppings to make. They can come up with their own toppings too! Encourage them to use AT LEAST 3 TOPPINGS on their pizza. Even if they don't love to eat those toppings themselves in real life, their pizzas will look a whole lot more exciting with more toppings than less!
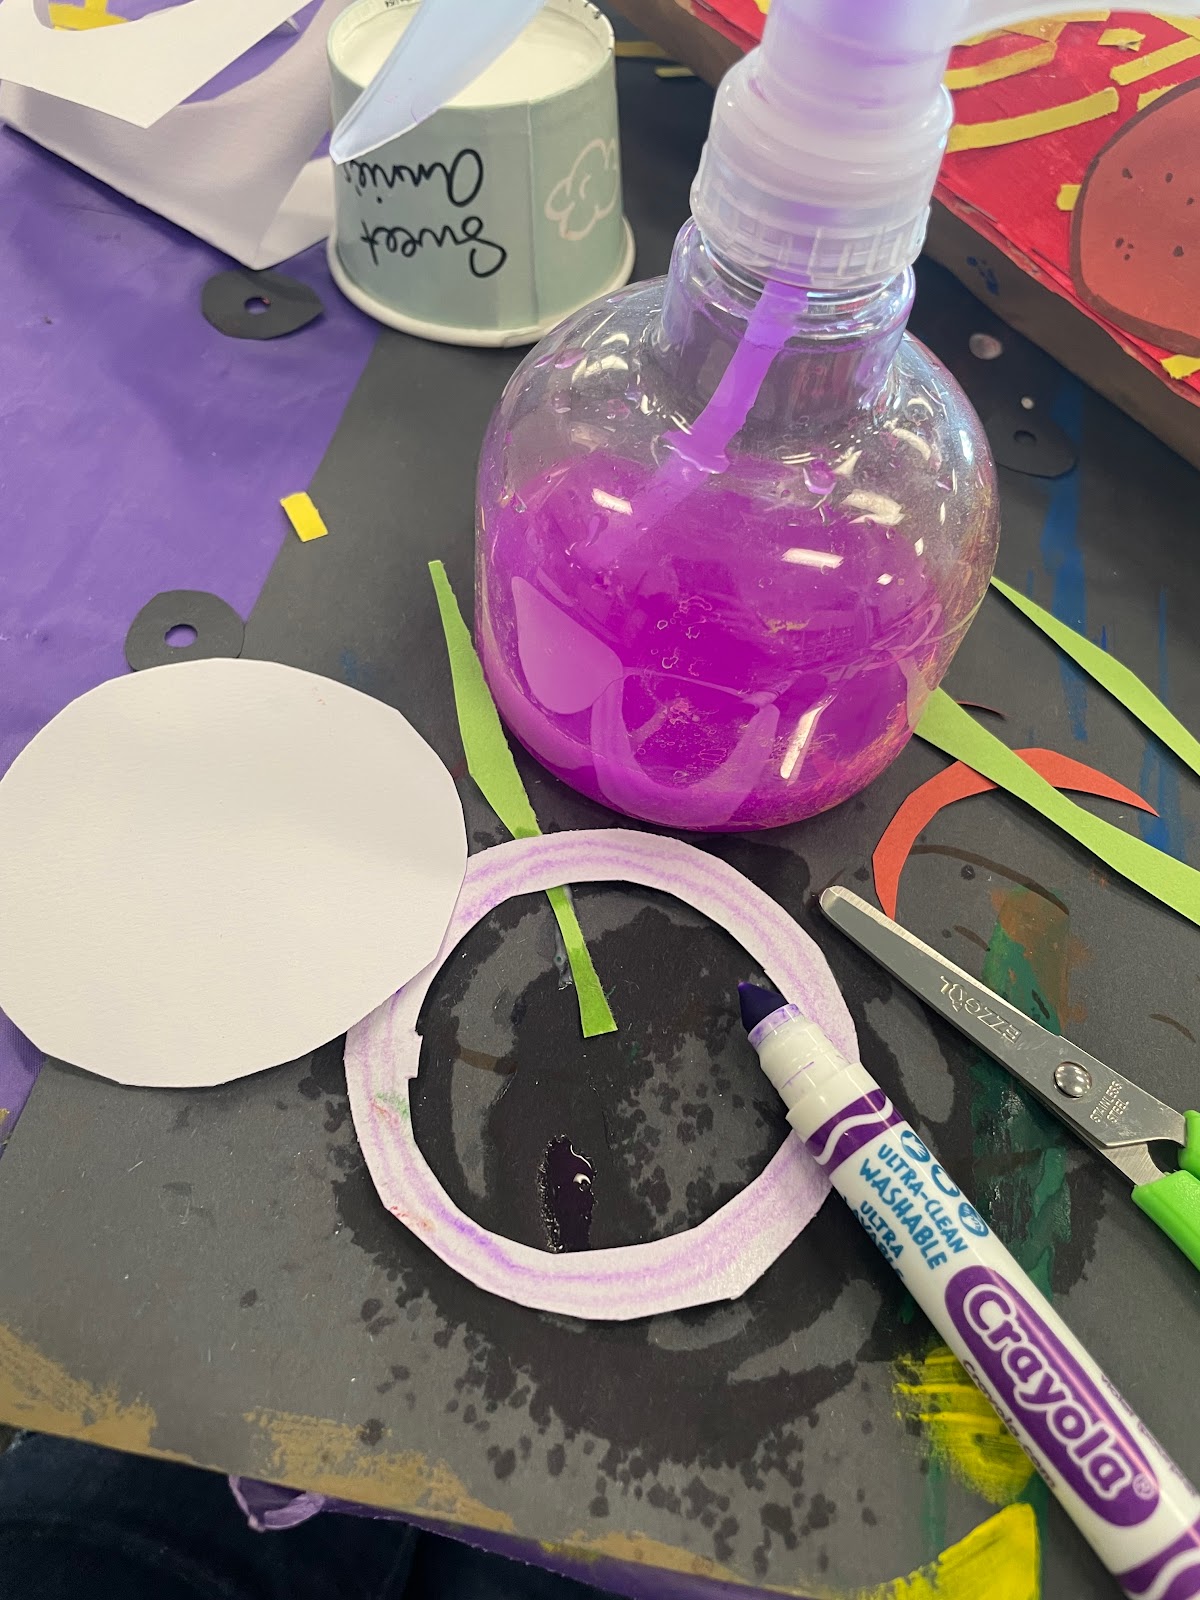
Construction paper strips for toppings are cut and in clear bins. You can have students come up to get the colors they want, or pass them out-or however that works best for the class.

Example of how to make Pineapple


Glue All toppings to pizza with Elmers glue

We will now roll up our crust. Wrinkle up the craft paper a little to create some folds. Staple One side to secure the crust, add a line of Elmers glue along the top of the pizza and staple the other edge of the crust.
 Roll the edge up to the top of the pizza sauce. Staple one side to secure the crust, add a line of Elmers glue along the top of the pizza and staple the other edge of the crust.


**** MOST IMPORTANT STEP*****
Using a Black Marker, turn your pizza over and gently and neatly, write your name & teacher's name on your pizza crust!! Leave them on the tables to dry!


No comments:
Post a Comment